Latest Updates
How to Set Up a Payment Gateway in WHMCS
How to Set Up a Payment Gateway in WHMCS A Payment Gateway in WHMCS allows businesses to securely accept online payments from customers for hosting plans, domain registrations, SSL certificates, software licenses, and other…
How to Set Up a Payment Gateway in WHMCS
A Payment Gateway in WHMCS allows businesses to securely accept online payments from customers for hosting plans, domain registrations, SSL certificates, software licenses, and other digital services. WHMCS provides built-in support for multiple payment gateways, making it easier to automate billing and payment collection.
With a proper Payment Gateway Setup in WHMCS, businesses can process customer payments automatically, update invoices instantly, support recurring billing, and provide a smooth checkout experience. Instead of manually verifying payments, WHMCS connects with payment providers to handle transactions securely and efficiently.
Popular payment gateways supported by WHMCS include PayPal, Stripe, Razorpay, Authorize.Net, 2Checkout, bank transfer options, and many other third-party payment solutions.
Why Configure a Payment Gateway in WHMCS?
A payment gateway is an essential part of any WHMCS installation because it connects your billing system with online payment providers. Without a configured payment gateway, customers cannot complete payments automatically.
Benefits of setting up a Payment Gateway in WHMCS include:
- Accept online payments automatically
- Provide multiple payment methods for customers
- Automate invoice payment processing
- Reduce manual payment verification
- Support recurring subscriptions
- Improve customer checkout experience
- Enable faster payment confirmation
- Maintain accurate transaction records
- Improve business payment management
A properly configured payment gateway helps businesses save time, reduce errors, and provide reliable payment services to customers.
Prerequisites Before Setting Up a Payment Gateway in WHMCS
Before starting the Payment Gateway Setup in WHMCS, make sure you have the following:
- A working WHMCS installation
- Administrator access to the WHMCS dashboard
- An active account with your preferred payment provider
- Required API credentials or merchant details
- SSL certificate enabled on your website
- Correct currency settings configured in WHMCS
- Server connectivity with the payment gateway provider
Having these requirements ready will make the configuration process faster and easier.
Step 1: Log in to the WHMCS Admin Area
First, access your WHMCS administrator dashboard.
- Open your WHMCS admin login URL.
- Enter your administrator username and password.
- Click the Login button.
After successful login, you will be redirected to the WHMCS admin dashboard where you can manage billing, products, clients, and payment settings.
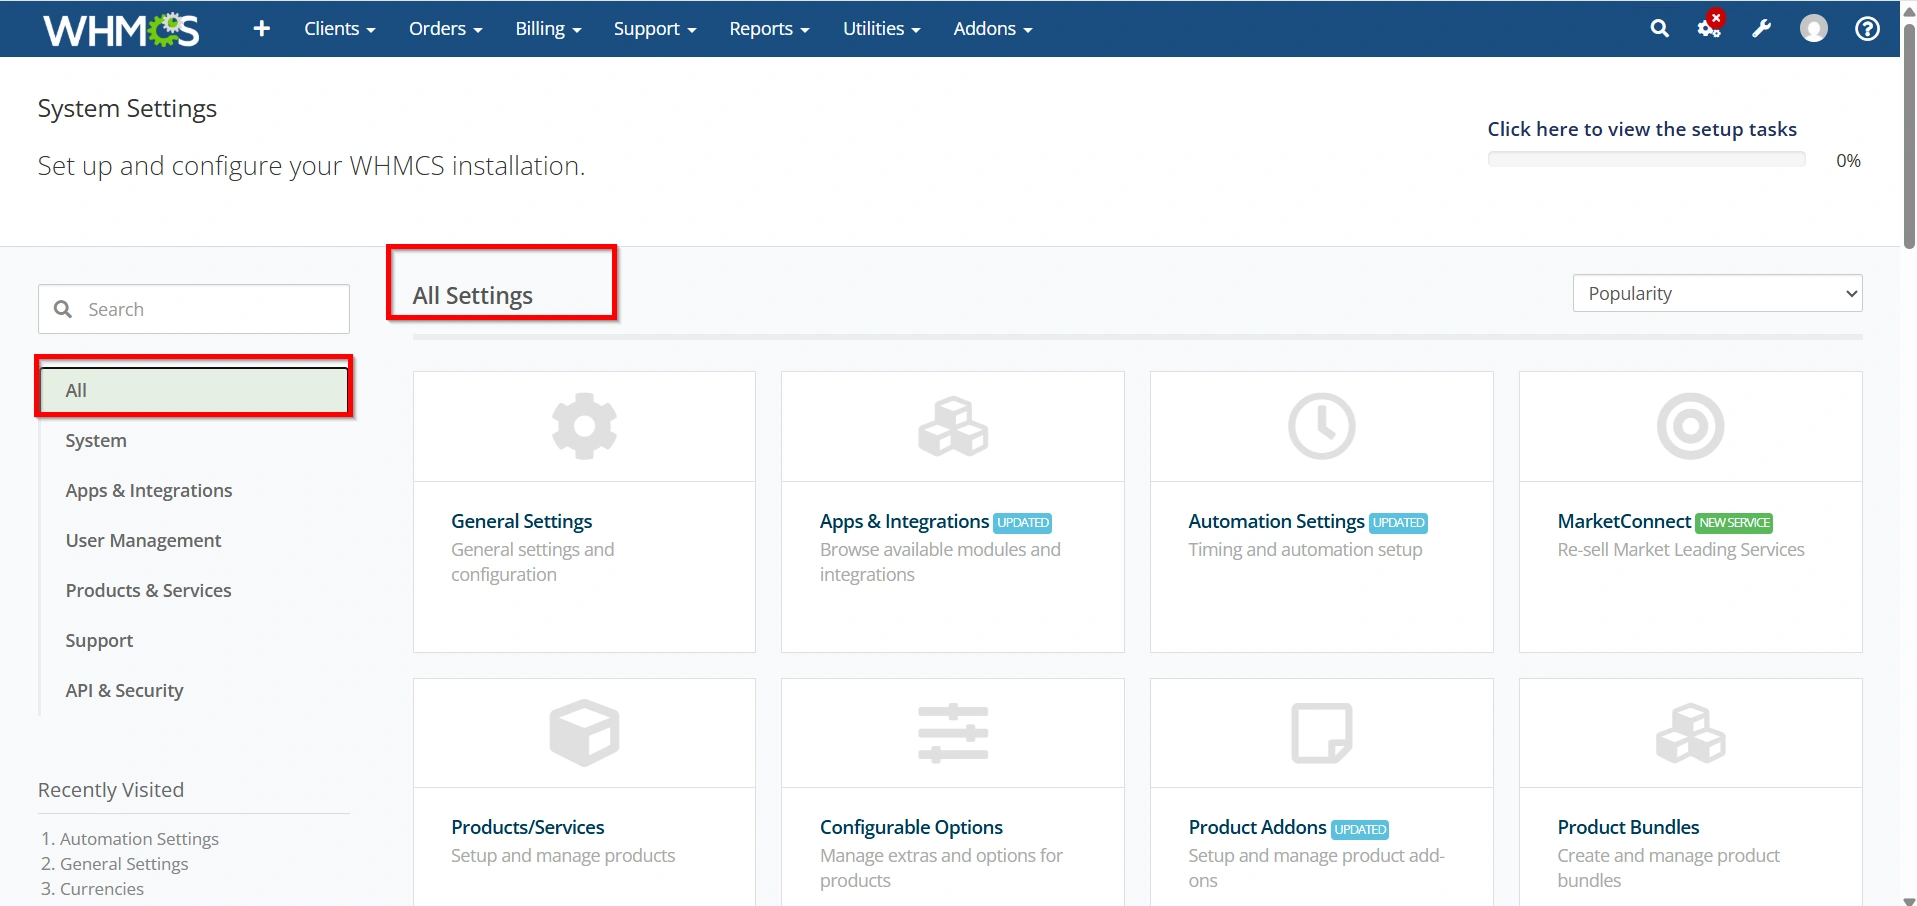
Step 2: Navigate to Payment Gateway Settings
To begin configuring the payment gateway:
- From the WHMCS admin dashboard, go to Configuration.
- Select System Settings.
![]()
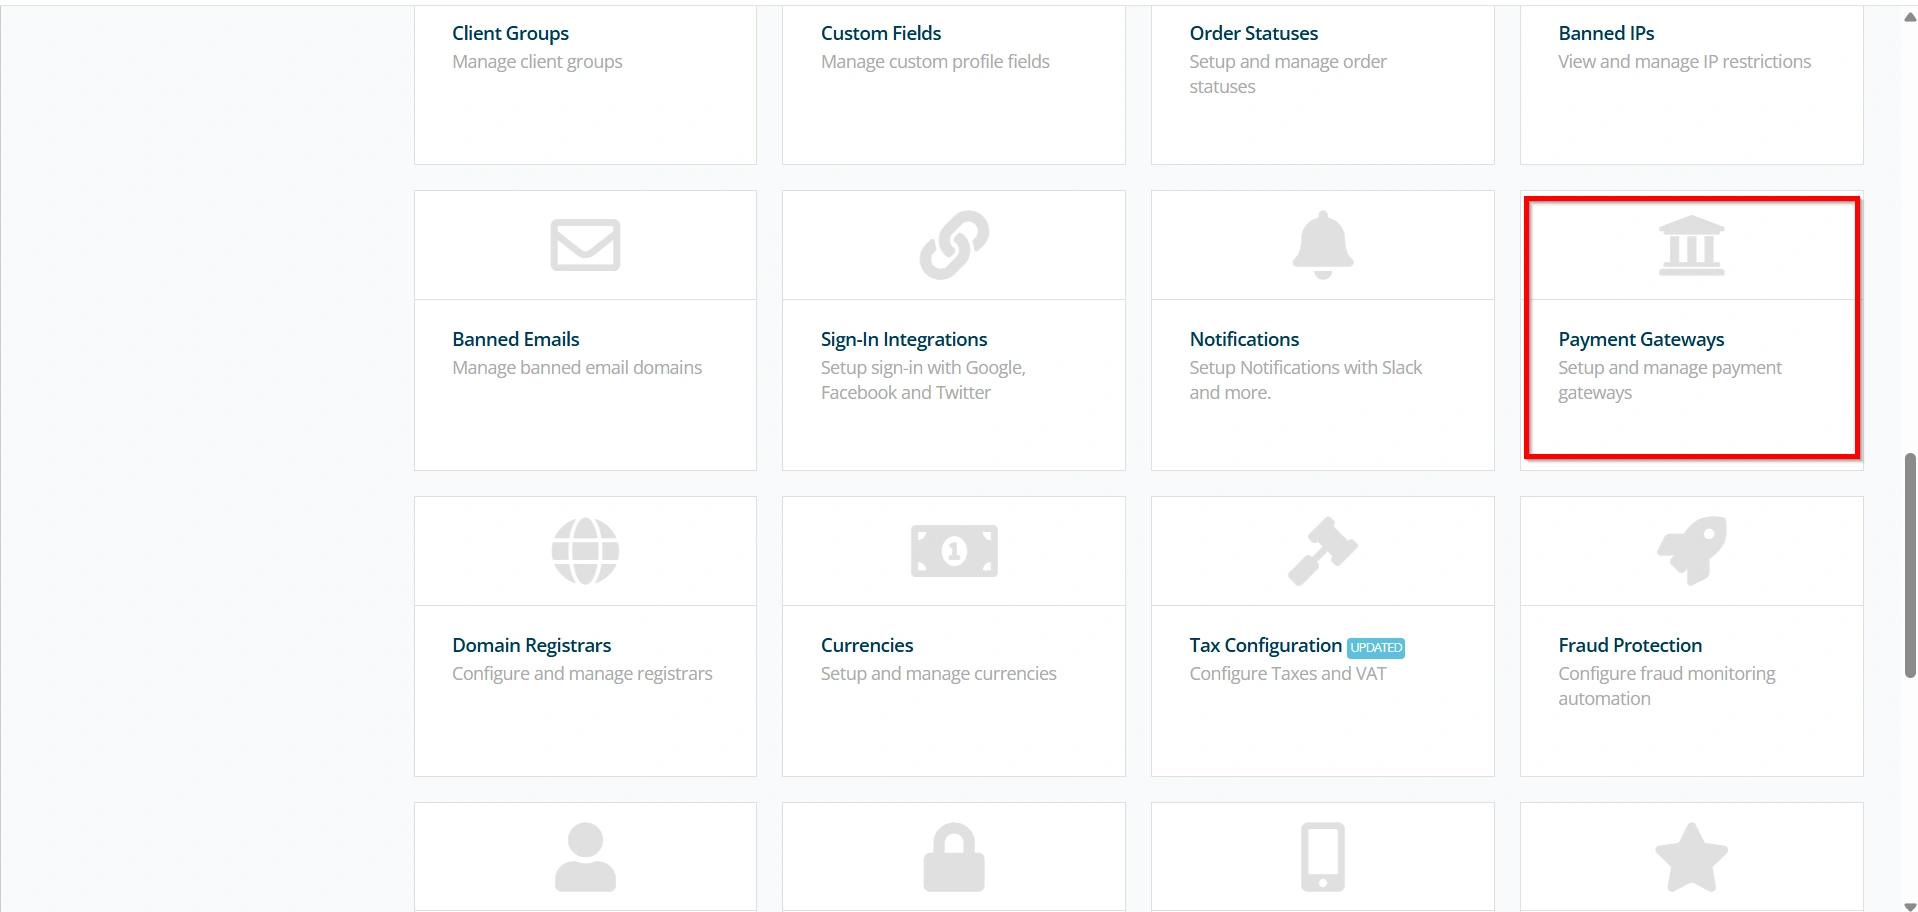
3. Under All Settings
select Payment Gateways.
The Payment Gateways section contains all available payment modules that can be enabled and configured inside WHMCS.
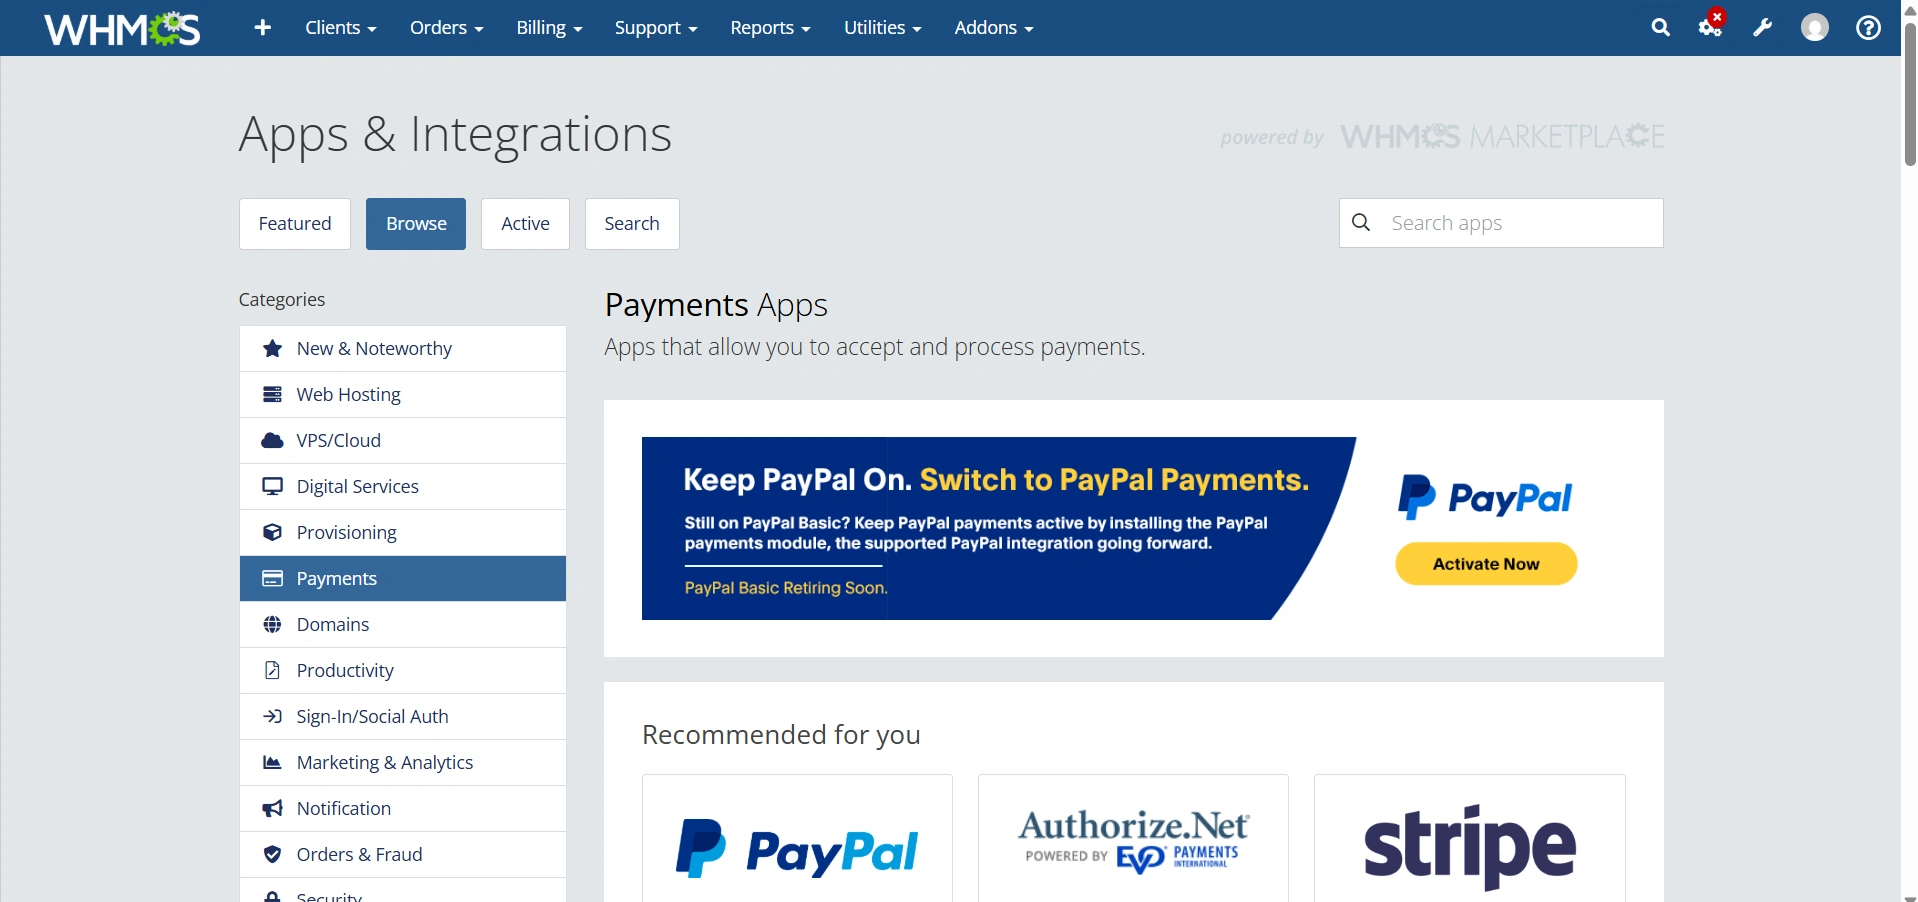
Step 3: Choose a Payment Gateway
WHMCS supports several payment gateway options depending on your business needs.
Some commonly used gateways include:
- PayPal
- Stripe
- Razorpay
- Authorize.Net
- 2Checkout
- Paytm
- Bank Transfer
- Cryptocurrency payment gateways
Select the payment gateway that matches your business requirements and the payment preferences of your customers.
For example, hosting businesses may choose Stripe for card payments, PayPal for international customers, or Razorpay for local payment options.
Step 4: Activate the Payment Gateway
After selecting your preferred gateway:
- Open the All Payment Gateways tab.
- Find your selected payment gateway.
- Click the Activate button.
Once activated, WHMCS will display additional configuration options required for that payment provider.
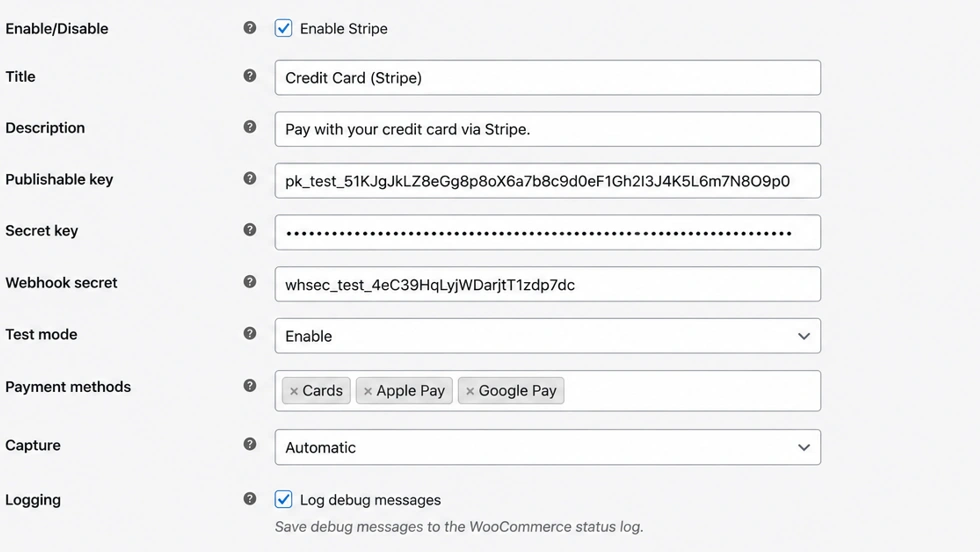
Step 5: Enter Payment Gateway Credentials
After activation, you need to enter the details provided by your payment gateway account.
Common credentials include:
- API Key
- Secret Key
- Client ID
- Merchant ID
- API Username
- API Password
- Webhook Secret
- Signature Key
Enter all details carefully because incorrect credentials can cause payment failures.
Always use live credentials only when you are ready to accept real customer payments.
Step 6: Configure Payment Gateway Options
Depending on the payment provider, additional configuration settings may be available.
These options may include:
- Test Mode or Sandbox Mode
- Live Payment Mode
- Currency Selection
- Transaction Fees
- Payment Instructions
- Callback URLs
- Subscription Payment Settings
Review each option carefully and configure the settings according to your business requirements.
Step 7: Configure Webhooks or Callback URLs
Webhooks allow WHMCS to receive automatic payment notifications from the payment gateway.
To configure webhooks:
- Copy the webhook URL provided by WHMCS.
- Log in to your payment gateway account.
- Open webhook or notification settings.
- Add the WHMCS callback URL.
- Save the configuration.
Webhooks help WHMCS automatically update invoice status after successful payments.
For example, when a customer completes a payment, the gateway sends a confirmation notification to WHMCS, and the invoice status changes automatically from unpaid to paid.
Step 8: Save Payment Gateway Settings
After completing all required settings:
- Review the entered information.
- Verify API credentials.
- Click Save Changes.
Your Payment Gateway Setup in WHMCS is now configured.
The gateway will appear as an available payment option during customer checkout.
Step 9: Perform a Test Transaction
Before accepting real payments, always test the payment gateway.
Follow these steps:
- Enable Sandbox or Test Mode.
- Create a test invoice.
- Complete a test payment.
- Check transaction records in WHMCS.
- Confirm that the invoice status updates correctly.
Testing helps identify configuration problems before customers use the payment system.
Step 10: Switch to Live Mode
After successful testing:
- Disable Sandbox Mode.
- Enable Live Mode.
- Save the changes.
Your Payment Gateway Setup in WHMCS is now ready to process real customer payments.
Customers can now pay invoices using the configured payment gateway.
Best Practices for Payment Gateway Setup in WHMCS
Follow these security practices to maintain reliable payment processing:
- Use an SSL certificate for secure transactions
- Keep WHMCS updated regularly
- Protect API credentials
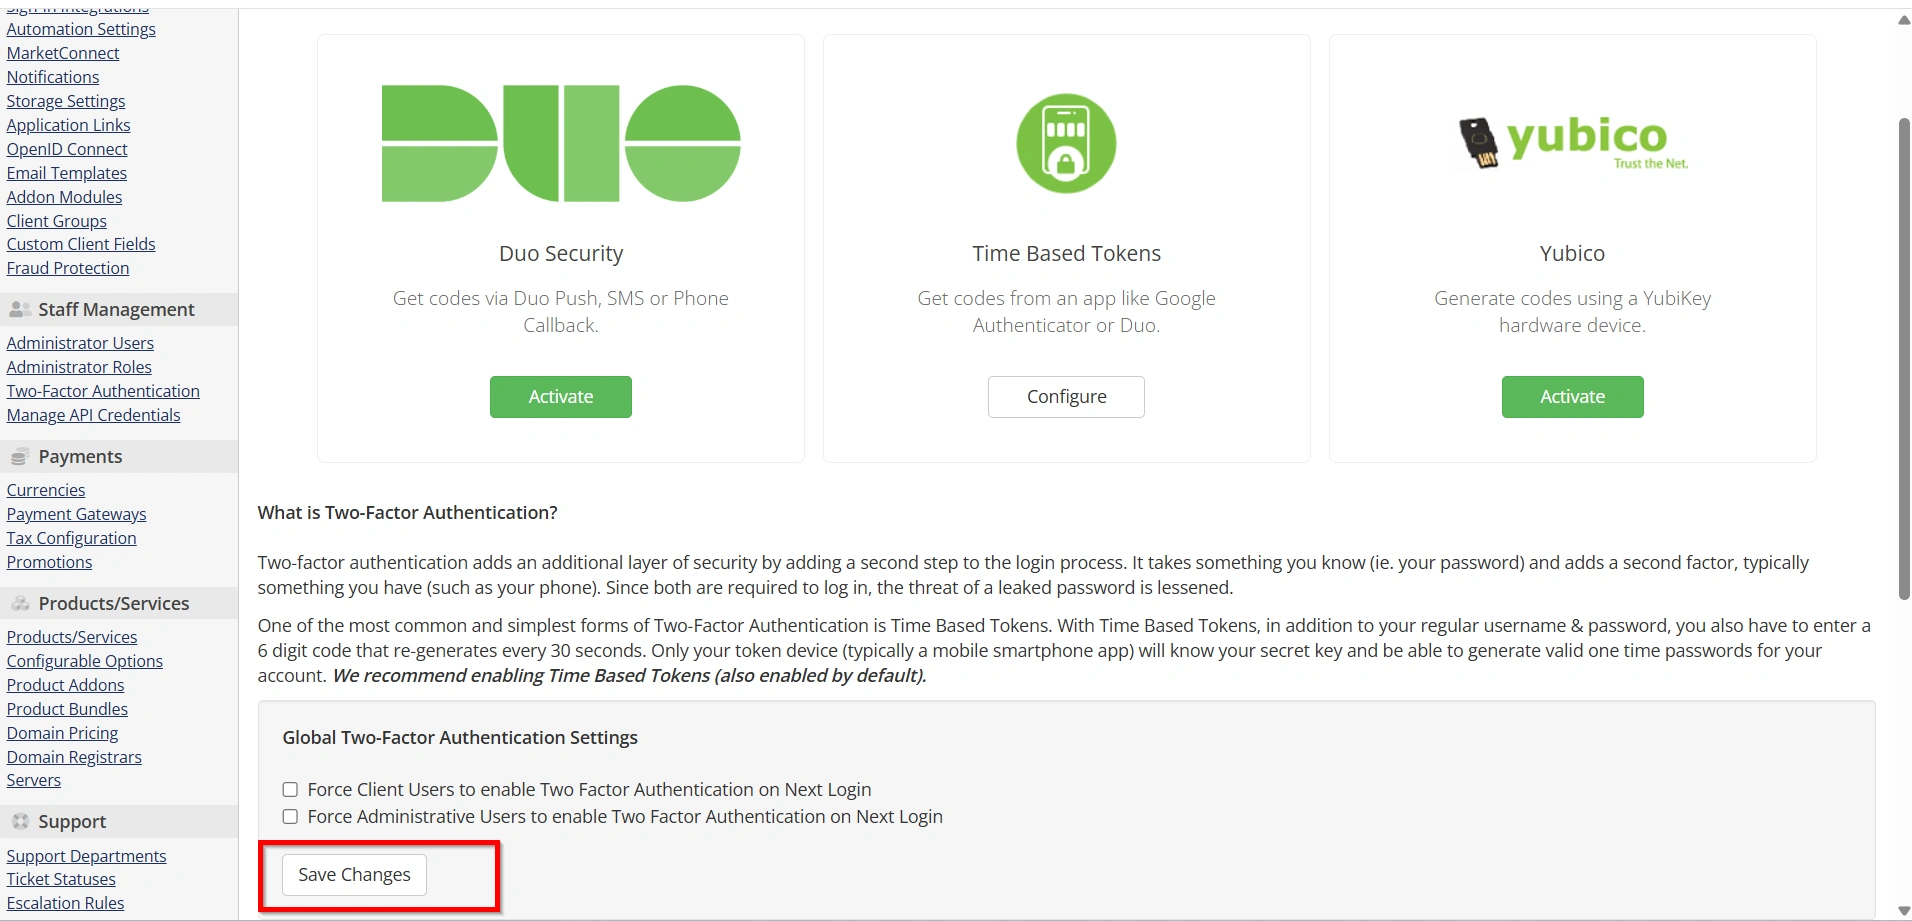
- Enable administrator two-factor authentication
- Monitor payment logs
- Review failed transactions
- Enable fraud prevention tools
- Test gateway settings after updates
- Keep regular backups
These practices help protect customer information and reduce payment-related issues.
Benefits of Payment Gateway Setup in WHMCS
Automated Payment Processing
WHMCS automatically processes customer payments and reduces manual billing tasks.
Multiple Payment Options
Customers can choose their preferred payment method, improving convenience and increasing successful transactions.
Automatic Invoice Updates
Successful payments automatically update invoice status inside WHMCS.
Improved Customer Experience
A simple and secure payment process improves customer satisfaction.
Secure Transactions
Payment gateways use encryption and security measures to protect customer payment information.
Common Payment Gateway Issues in WHMCS
Payment Not Updating Automatically
Possible solutions:
- Check webhook configuration
- Verify callback URLs
- Review payment gateway logs
Invalid API Credentials
Solutions:
- Confirm API keys
- Check account permissions
- Re-enter credentials correctly
Currency Problems
Solutions:
- Verify supported currencies
- Check WHMCS currency settings
- Match gateway currency configuration
Failed Transactions
Solutions:
- Confirm gateway account status
- Check server connectivity
- Review transaction errors
Conclusion
A proper Payment Gateway Setup in WHMCS is important for automating online payments and improving customer billing management. By configuring payment gateway credentials, setting up webhooks, testing transactions, and following security practices, businesses can create a reliable payment system.
Whether you use PayPal, Stripe, Razorpay, or another payment provider, correctly setting up a payment gateway in WHMCS helps automate billing, reduce manual work, and provide customers with a secure payment experience.
Originally published on WebyStrata.com Blog.
Related Articles