Latest Updates
How to Configure Settings in WordPress
How to Configure Settings in WordPress WordPress is a powerful content management system that allows users to create and manage websites with ease. However, after installing WordPress, one of the most important tasks is…
How to Configure Settings in WordPress
WordPress is a powerful content management system that allows users to create and manage websites with ease. However, after installing WordPress, one of the most important tasks is configuring the website settings properly. These settings control how your site appears to visitors, how content is managed, how search engines interact with your website, and how users engage with your content.
Taking the time to configure WordPress settings correctly can improve website performance, user experience, search engine rankings, and overall site security. Whether you’re running a personal blog, business website, portfolio, or eCommerce store, understanding these settings is essential.
In this guide, you’ll learn how to configure the key settings available in WordPress and understand the purpose of each option.
Why WordPress Settings Matter
Many website owners install WordPress and immediately begin creating content without reviewing the default settings. While WordPress works out of the box, default settings may not always be ideal for your specific website.
Proper configuration helps:
- Improve search engine optimization (SEO)
- Enhance user experience
- Organize content effectively
- Prevent spam comments
- Optimize media handling
- Ensure accurate scheduling
- Strengthen privacy and compliance
Let’s explore each settings section in detail.
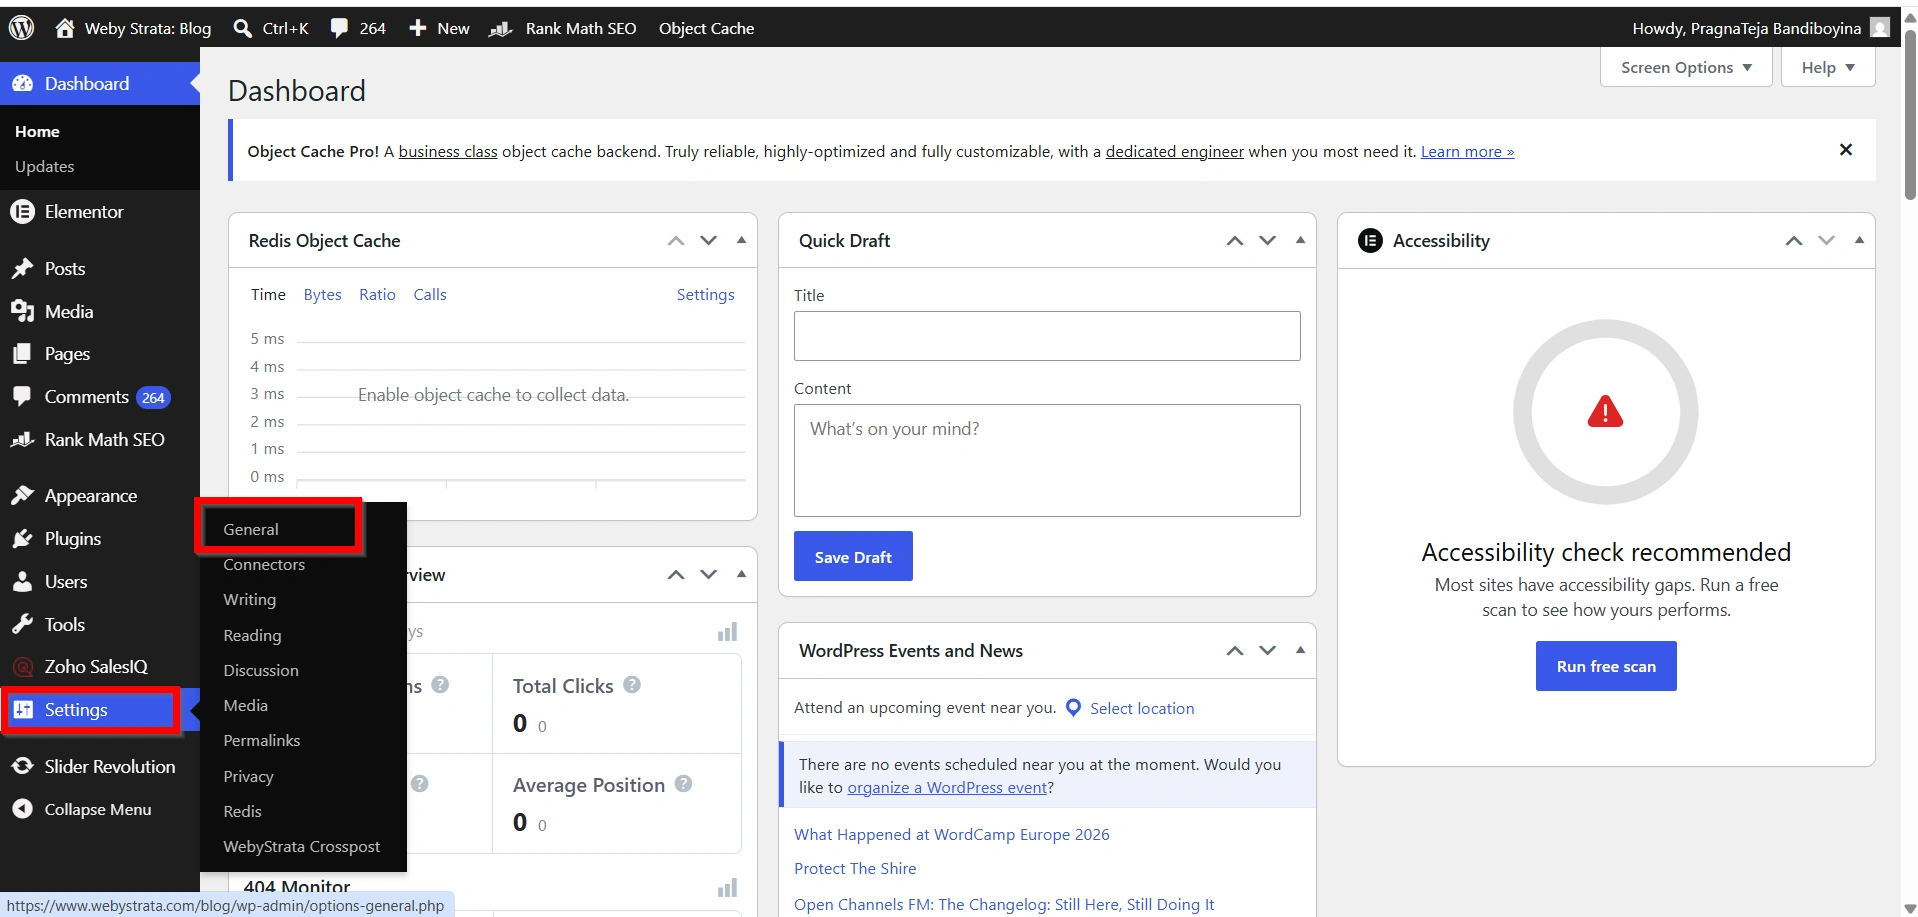
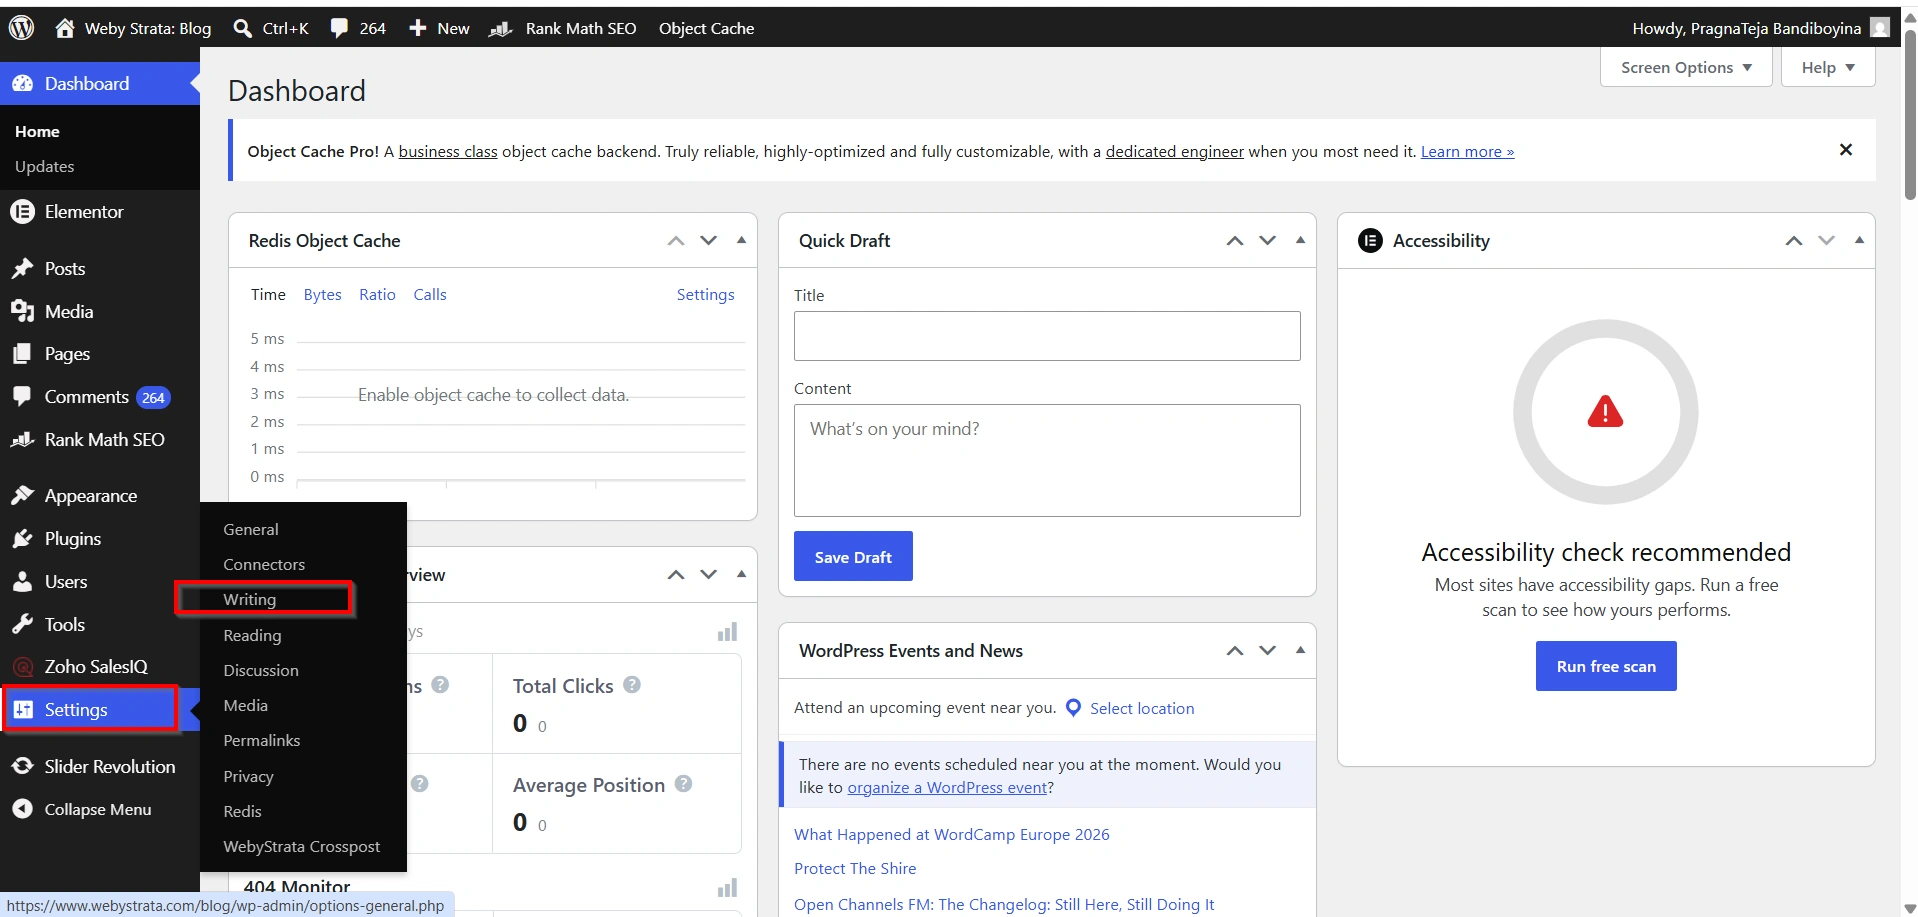
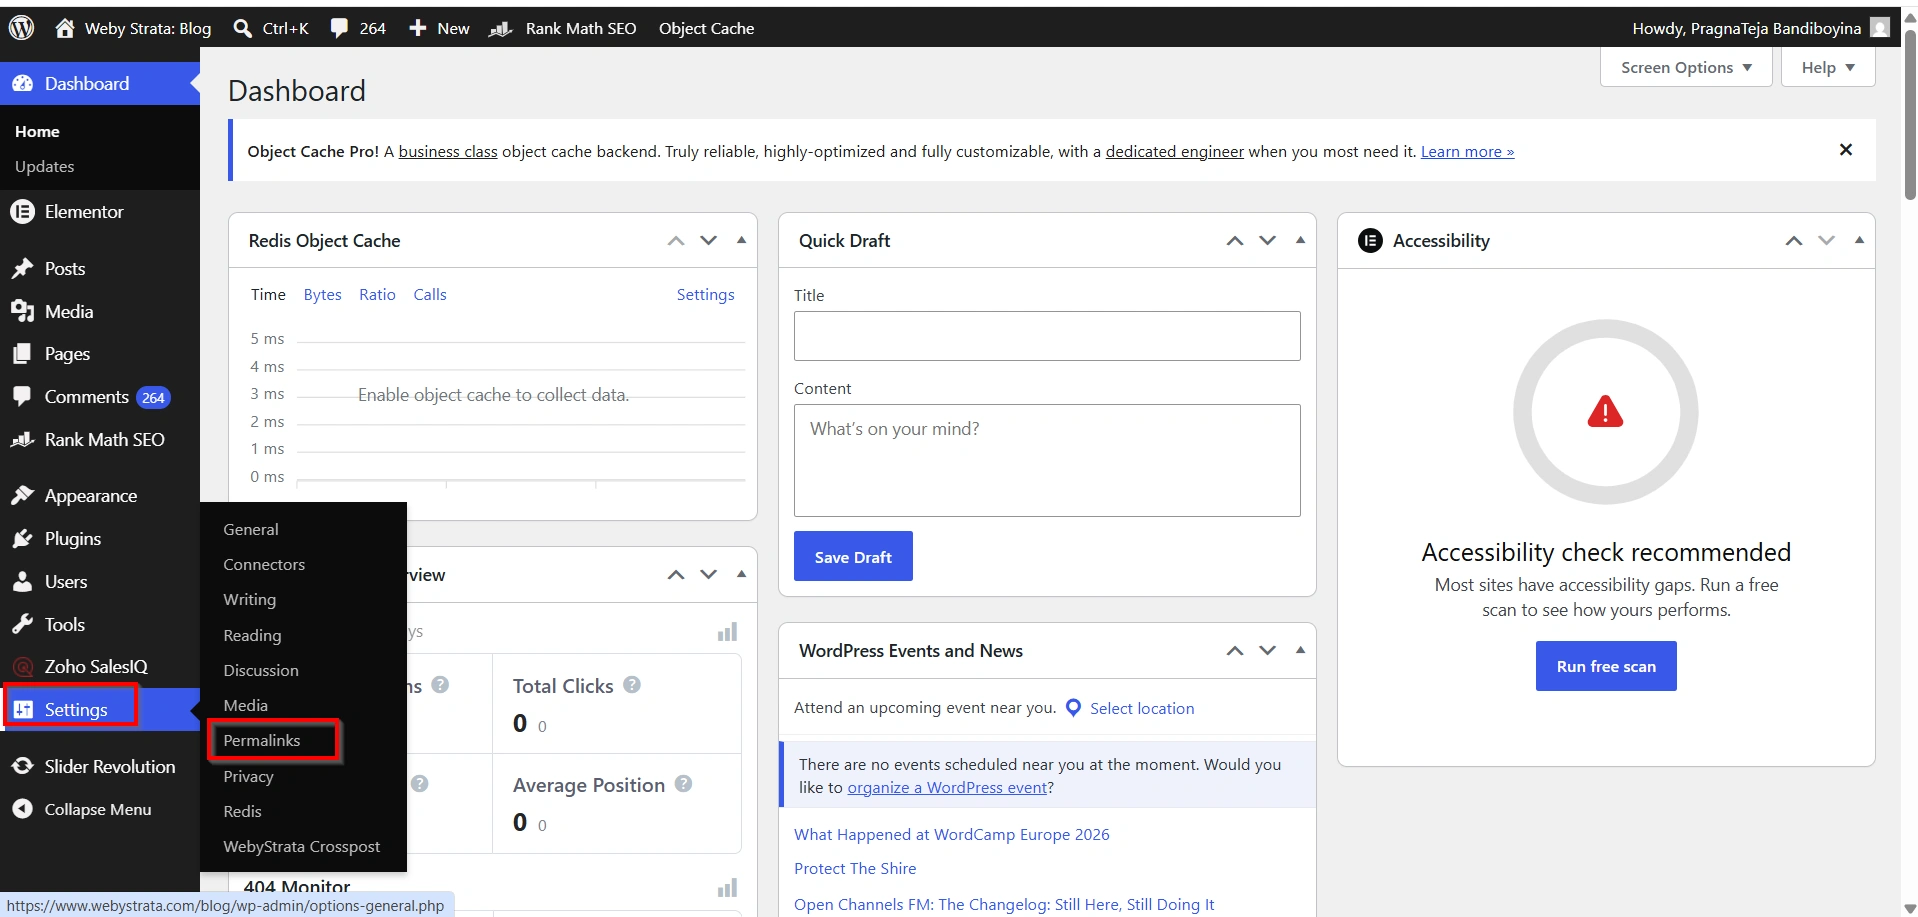
Step 1: Access the WordPress Settings Menu
First, log in to your WordPress Admin Dashboard.
Once logged in:
- Locate the Settings option in the left-hand sidebar.
- Click it to reveal various configuration sections.
The settings menu includes:
- General
- Writing
- Reading
- Discussion
- Media
- Permalinks
- Privacy
Each section controls a different aspect of your website.
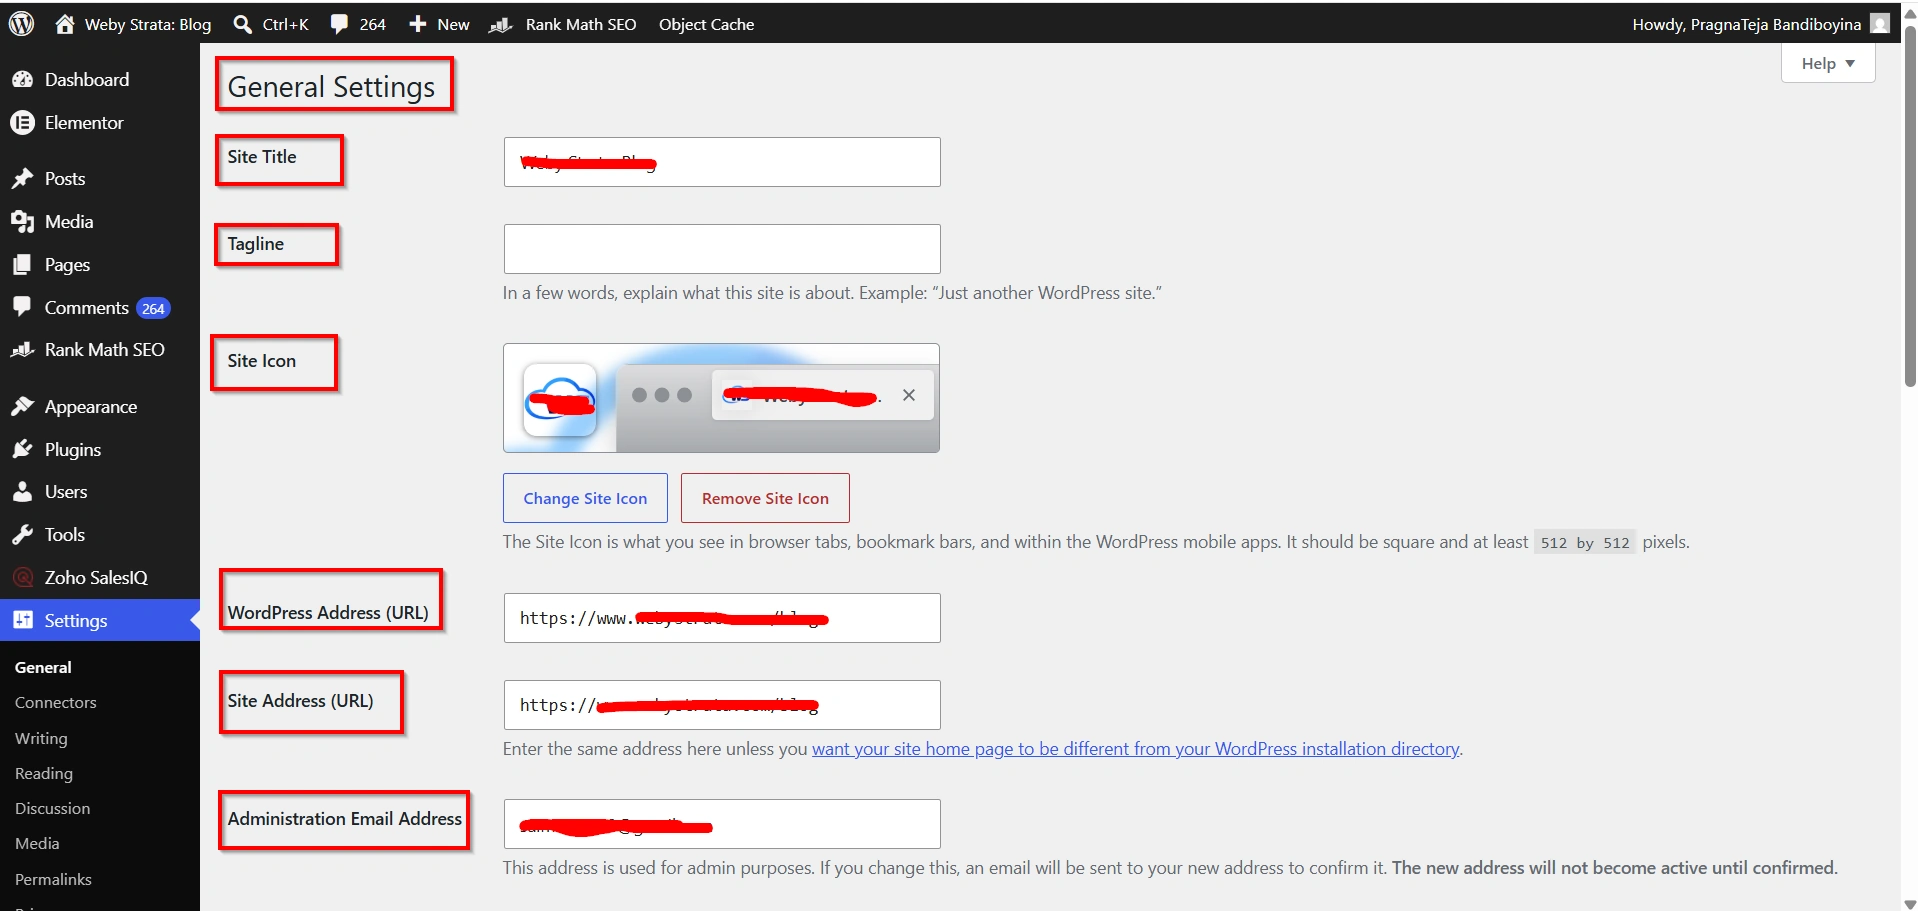
Step 2: Configure General Settings
Navigate to Settings → General.
The General Settings page contains basic information about your website.
Site Title
The Site Title is the name of your website. This title often appears:
- In browser tabs
- Search engine results
- Website headers
- Social media previews
Choose a title that accurately represents your brand or business.
Tagline
The Tagline provides a brief description of your website.
For example:
Site Title: WebyStrata
Tagline: Reliable Hosting and Web Solutions for Growing Businesses
A clear tagline helps visitors quickly understand your website’s purpose.
WordPress Address (URL)
This field specifies where your WordPress installation is located.
Site Address (URL)
This is the public URL visitors use to access your website.
Always verify these URLs before making changes, as incorrect settings may make your website inaccessible.
Administration Email Address
WordPress sends important notifications to this email address, including:
- Security alerts
- Password reset requests
- Plugin notifications
- Update notifications
Timezone Settings
Setting the correct timezone ensures:
- Scheduled posts publish correctly
- Backups run on time
- Automated tasks function properly
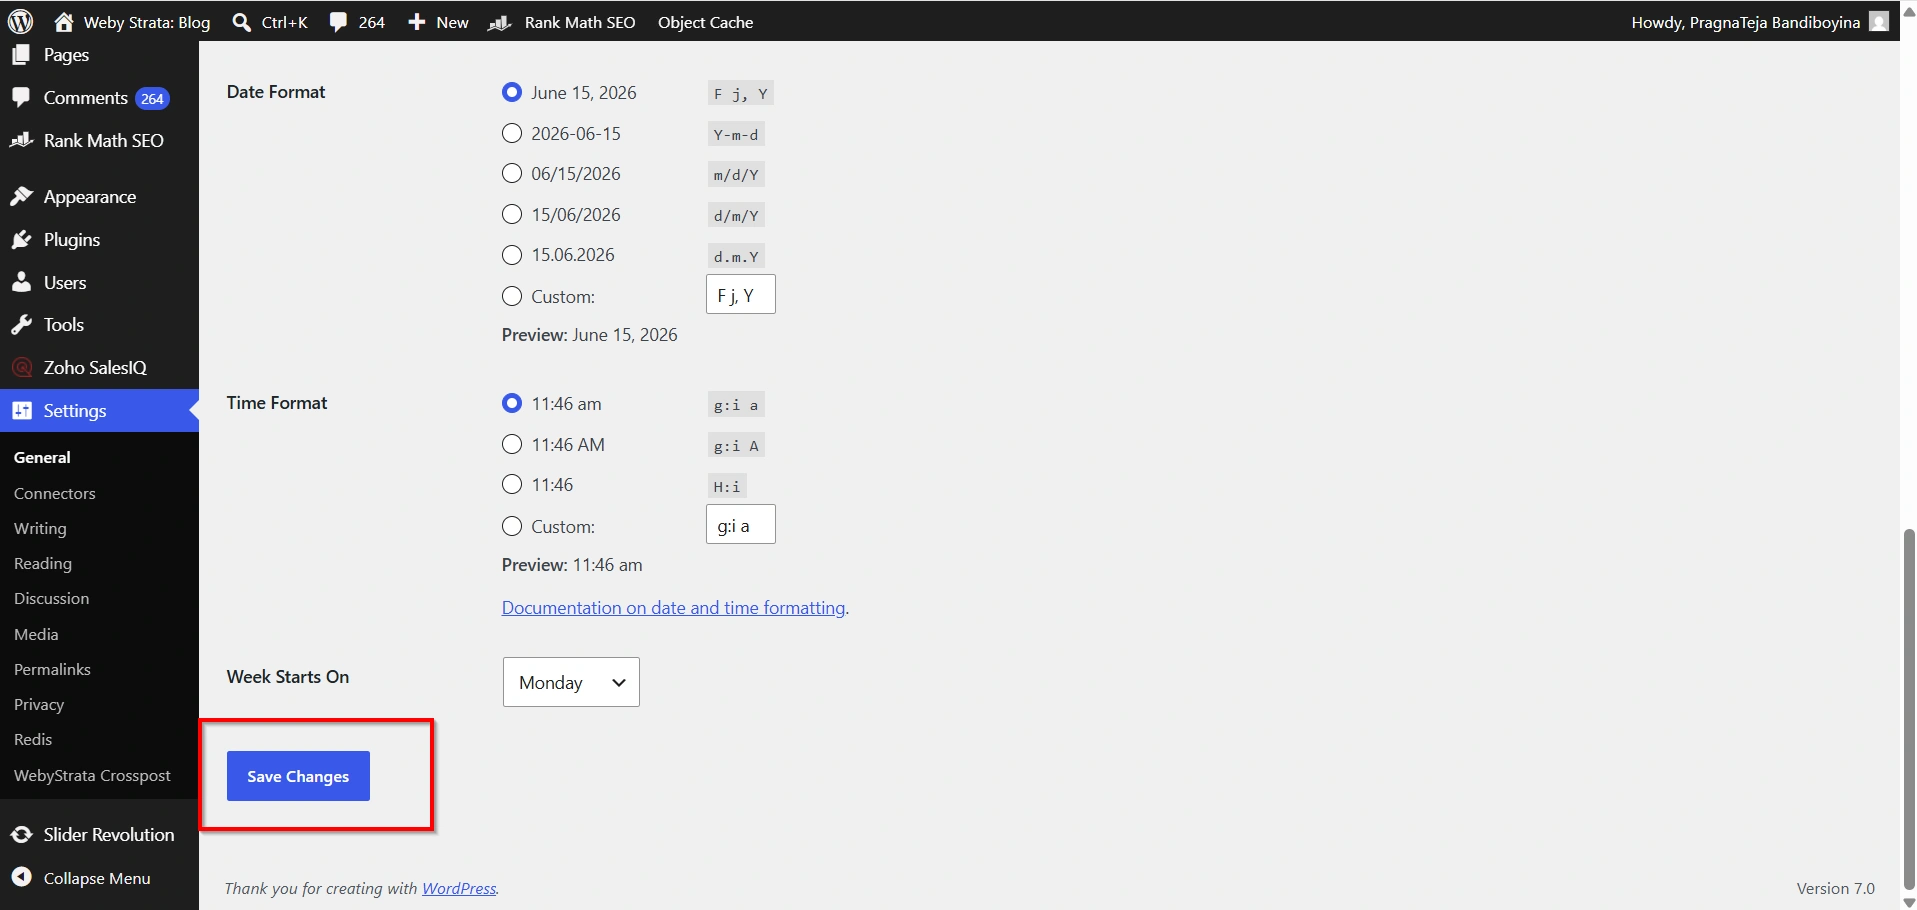
Date and Time Format
Customize how dates and times appear throughout your website.
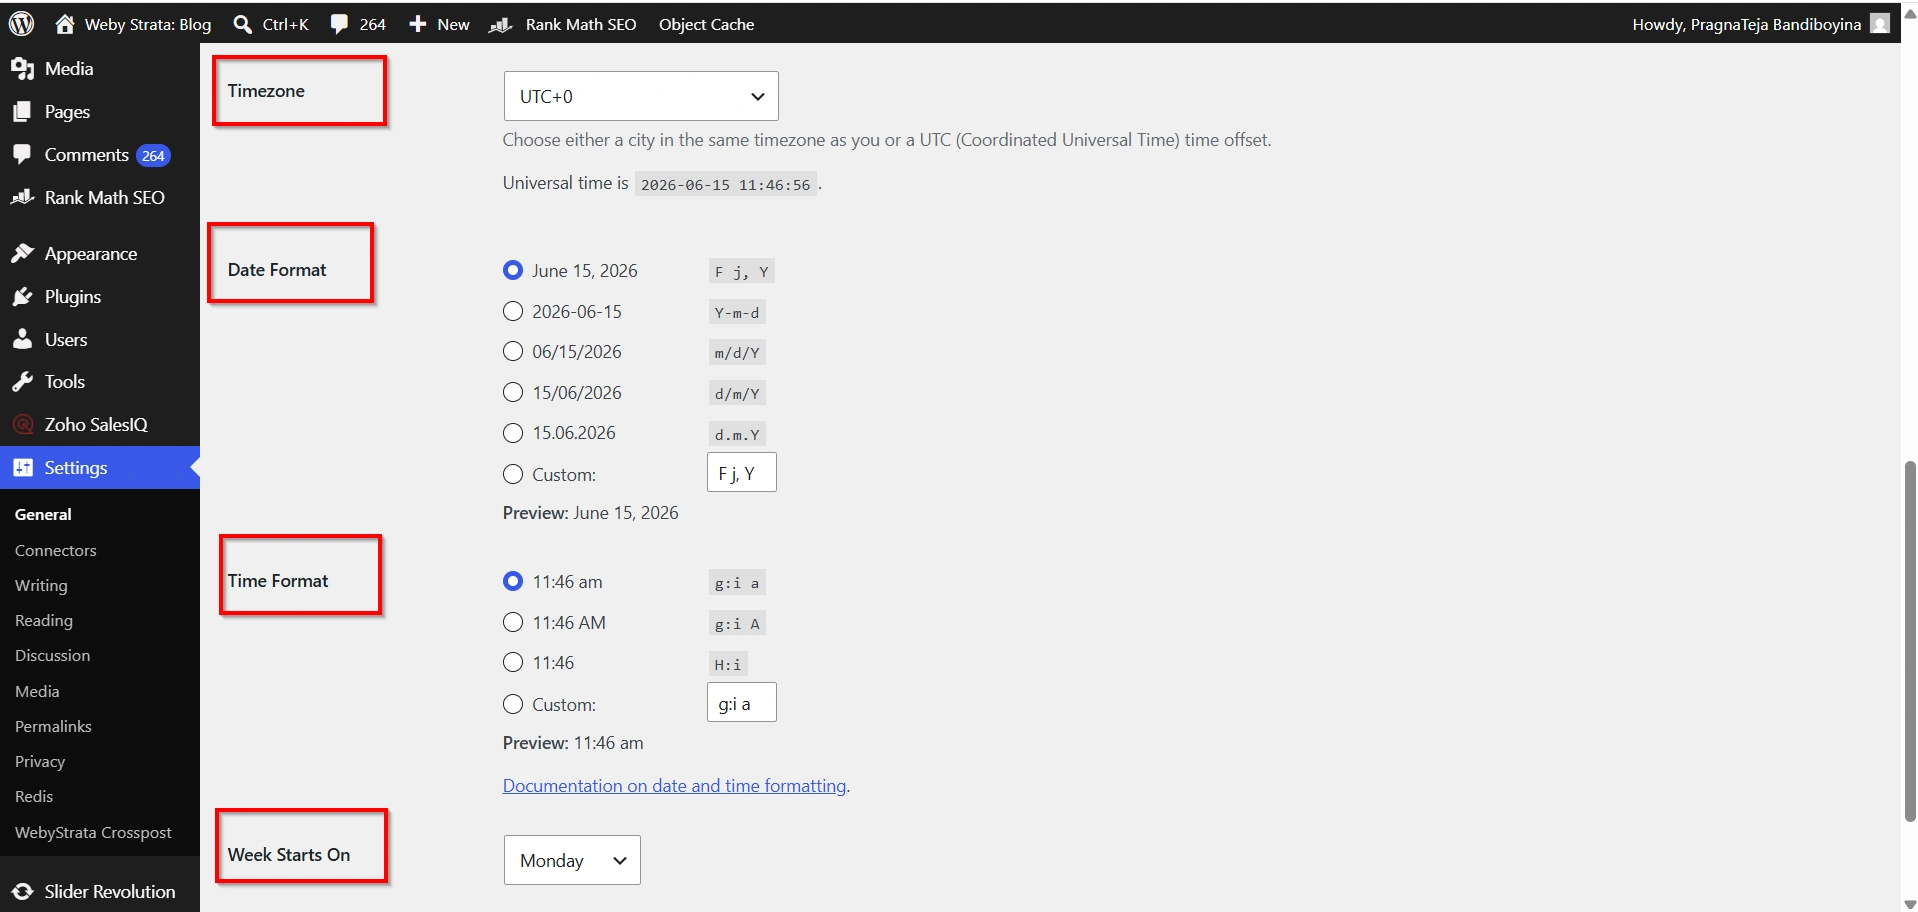
- After making any changes, click Save Changes.
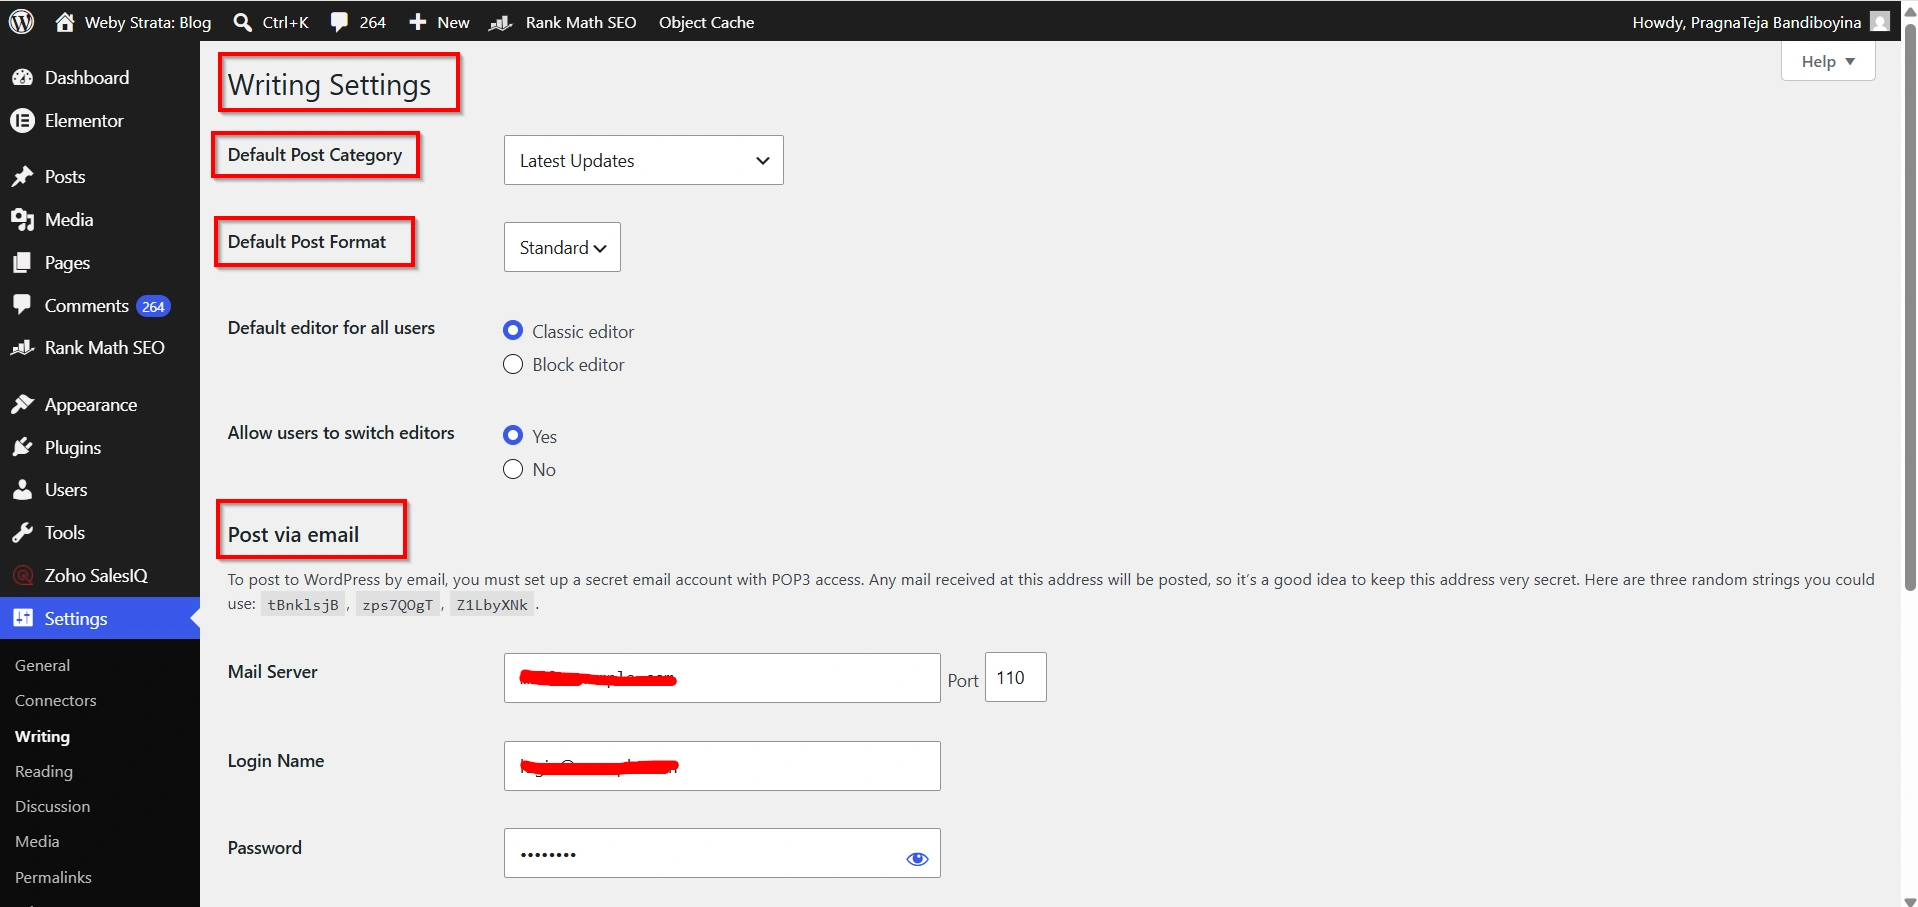
Step 3: Configure Writing Settings
Go to Settings → Writing.
Writing settings affect how content is created and published.
Default Post Category
Every blog post should belong to a category.
By selecting a default category, WordPress automatically organizes posts when no category is manually assigned.
Default Post Format
Depending on your theme, WordPress may support different post formats such as:
- Standard
- Gallery
- Video
- Audio
- Quote
Choose the format that best suits your content strategy.
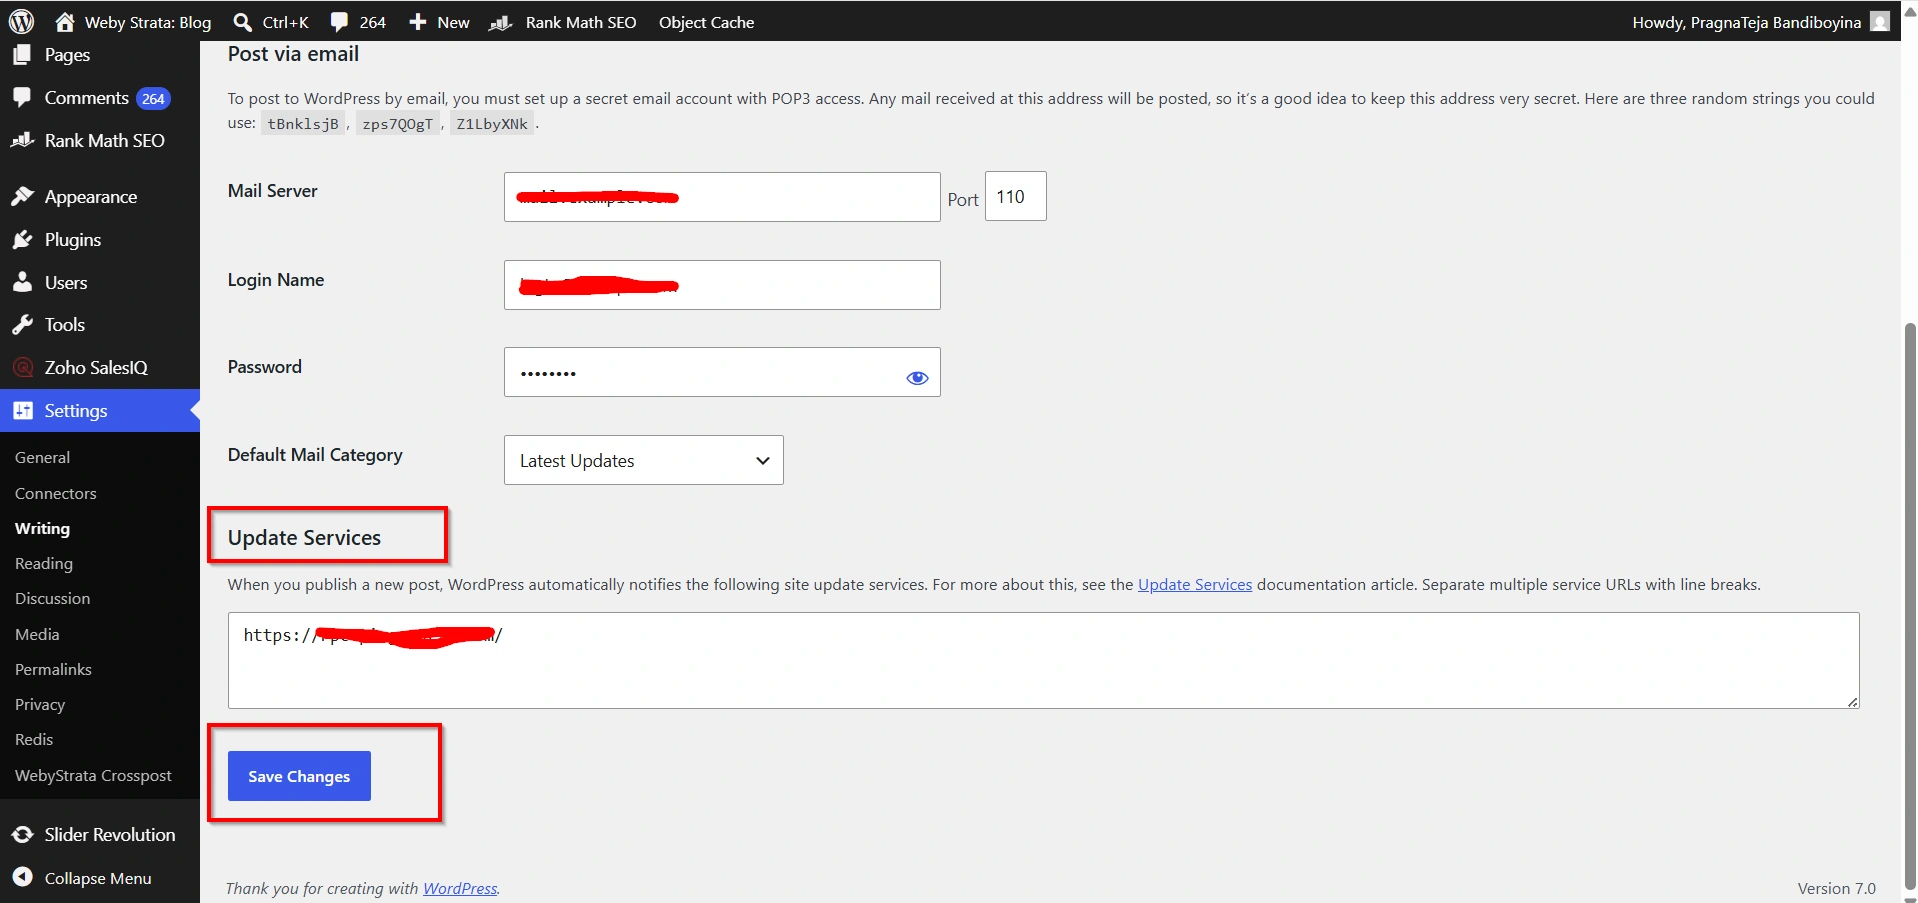
Update Services
Update Services notify various indexing services whenever new content is published.
Benefits include:
- Faster content discovery
- Improved indexing
- Better visibility in search engines
Click Save Changes after updating settings.
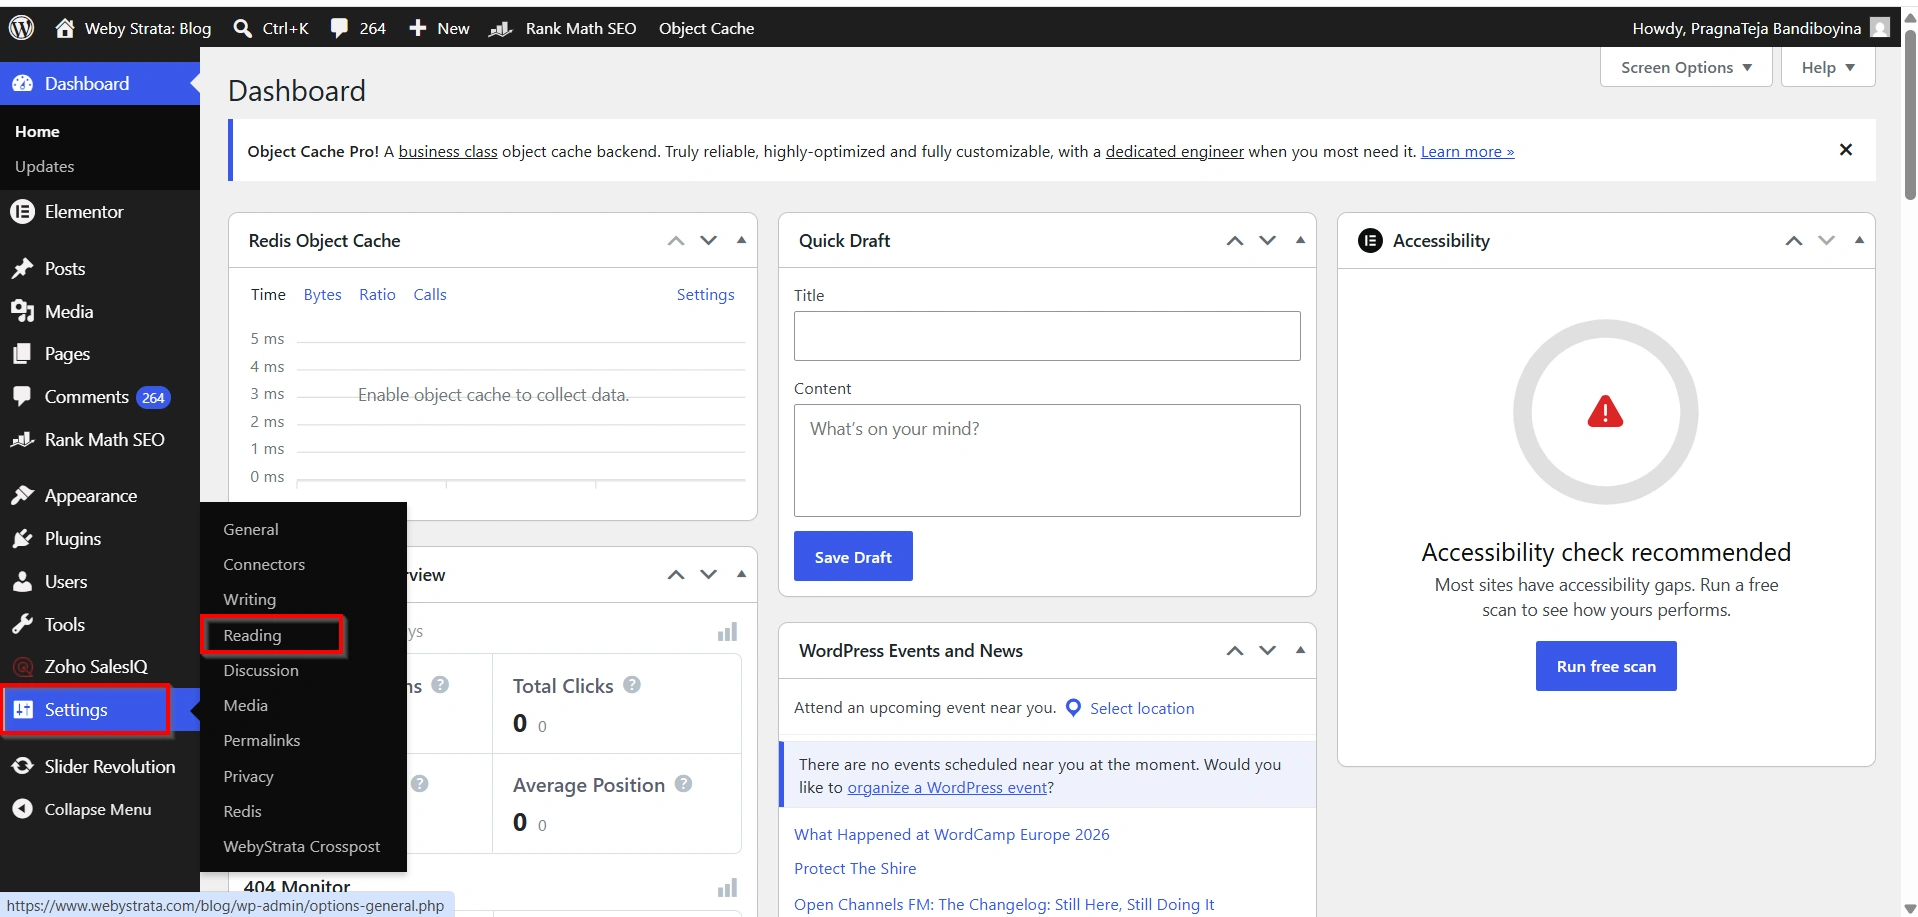
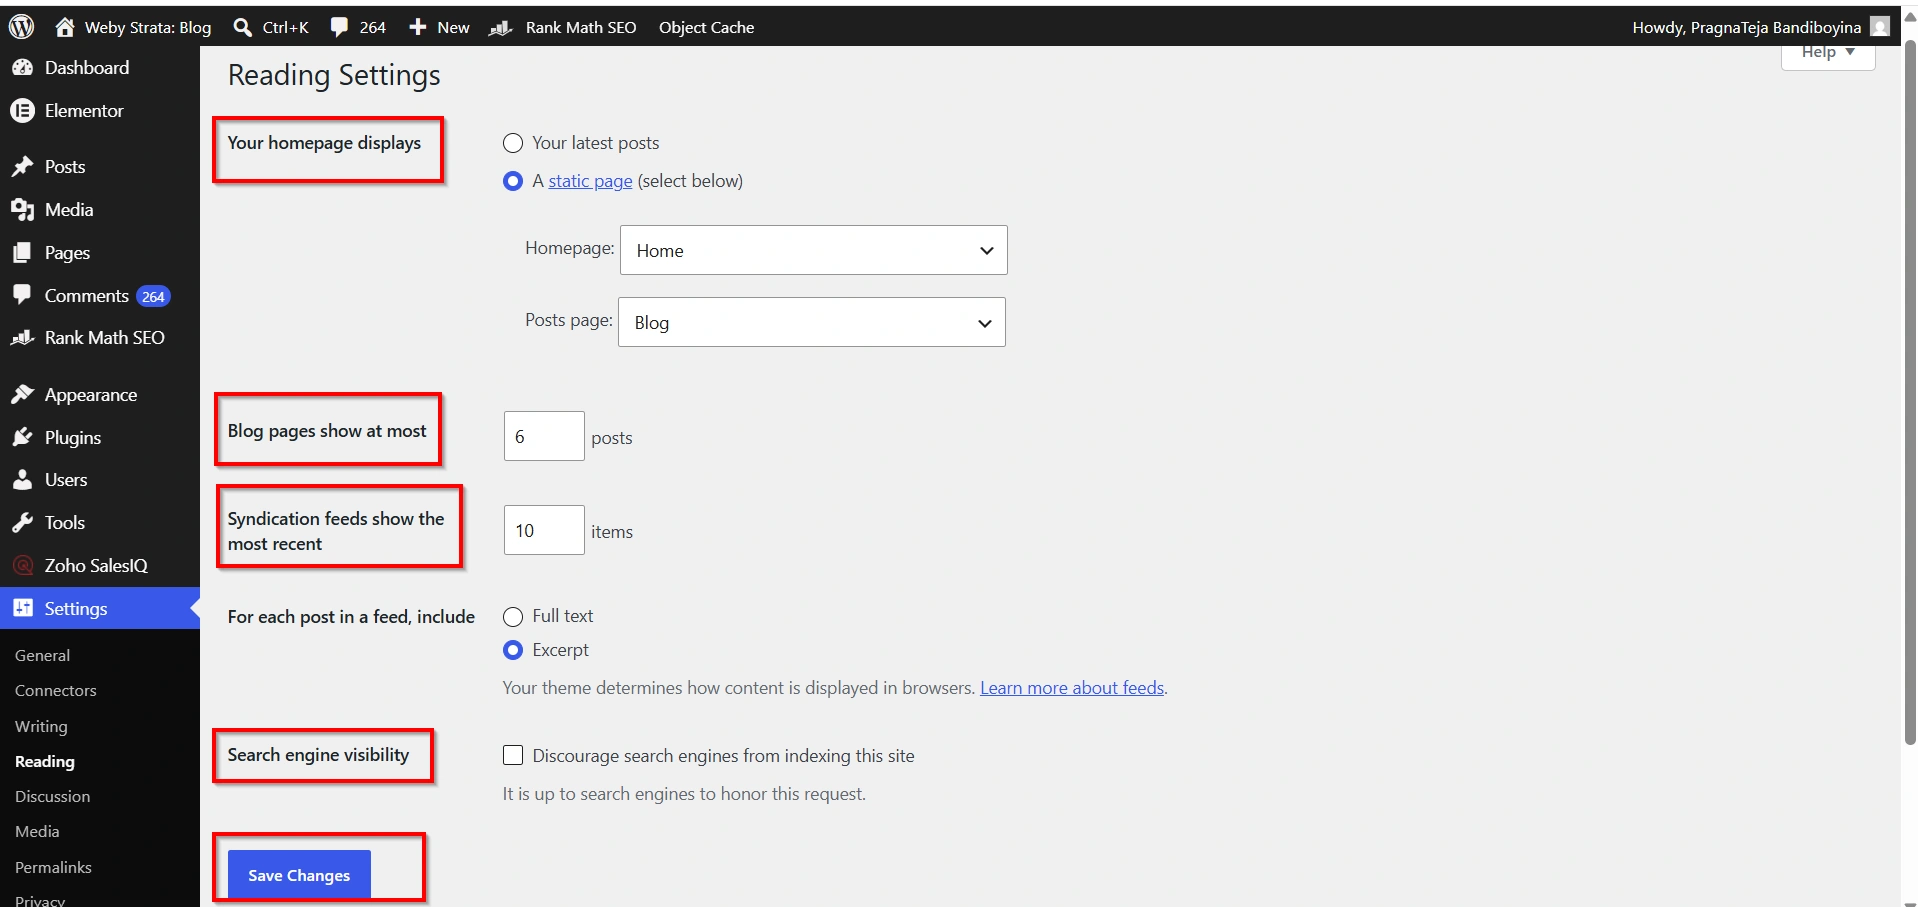
Step 4: Configure Reading Settings
Navigate to Settings → Reading.
These settings determine how visitors view your website content.
Homepage Displays
You have two options:
Your Latest Posts
Displays recently published blog posts on the homepage.
Ideal for:
- News websites
- Personal blogs
- Magazine-style websites
A Static Page
Displays a fixed homepage.
Ideal for:
- Business websites
- Company websites
- Service-based websites
- Online stores
Blog Pages Show at Most
Choose how many blog posts appear on archive pages.
A balanced number improves both user experience and website performance.
Syndication Feed Settings
Specify the number of posts included in RSS feeds.
Search Engine Visibility
WordPress includes an option to discourage search engines from indexing your site.
This setting is useful during development but should be disabled before launching your website.
Click Save Changes when finished.
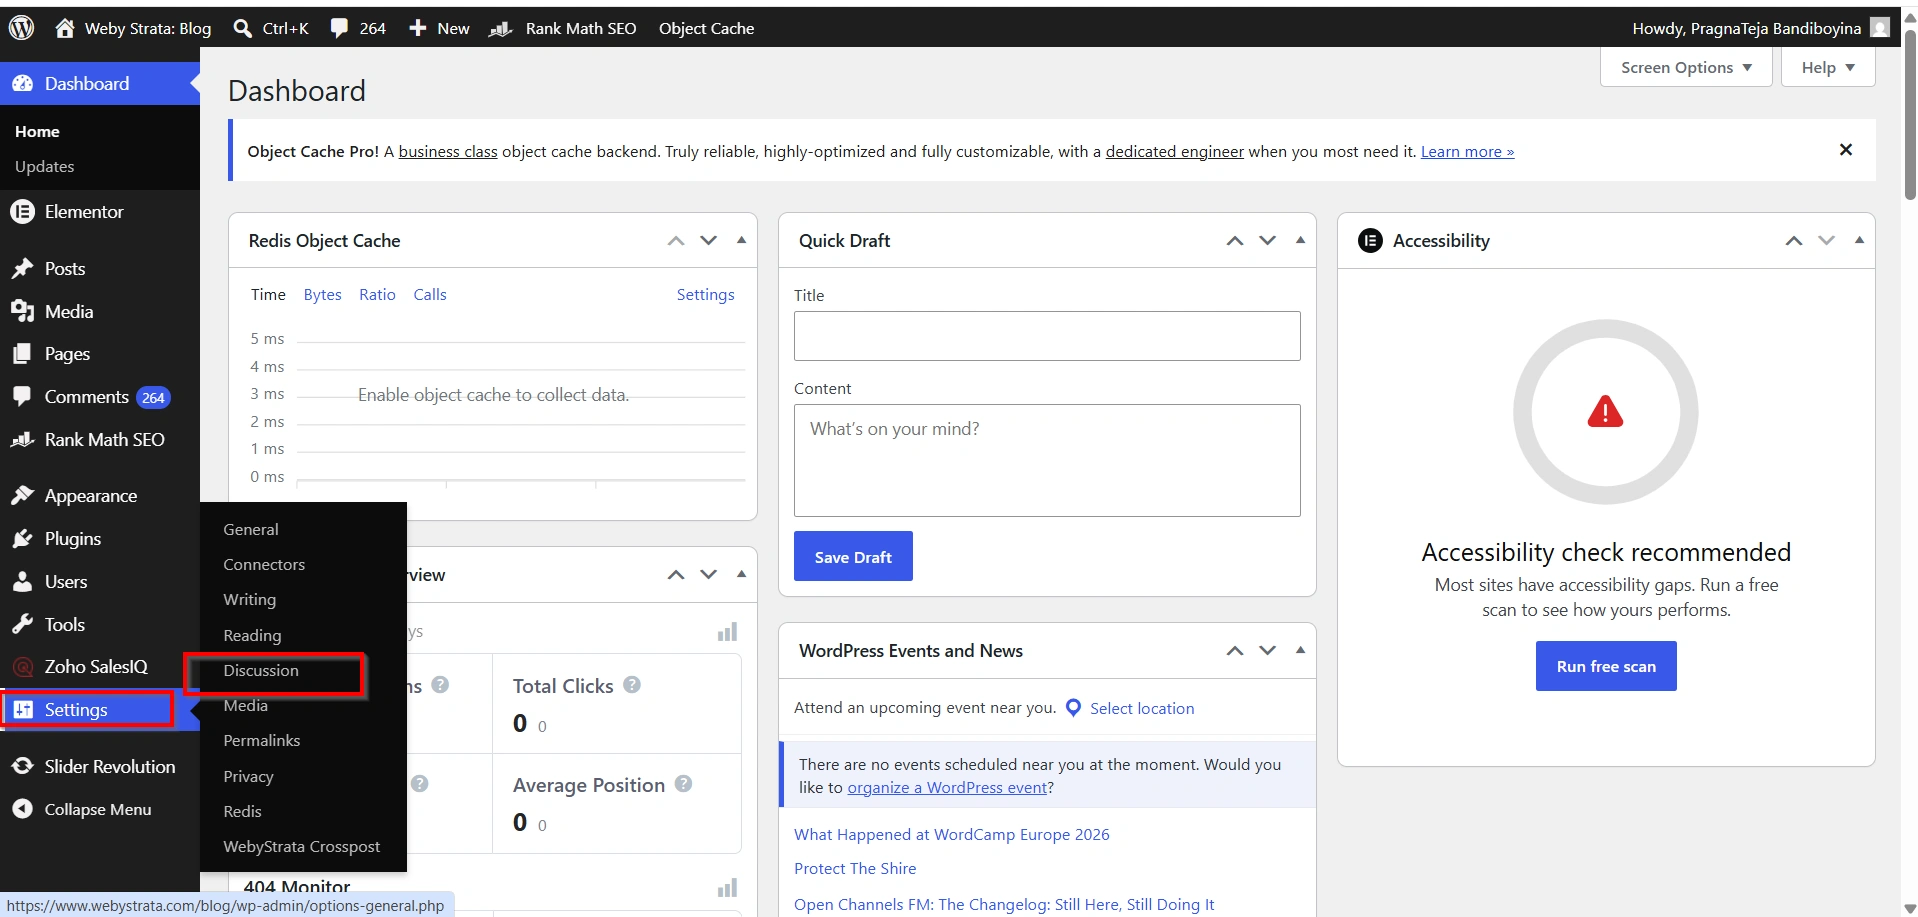
Step 5: Configure Discussion Settings
Go to Settings → Discussion.
Discussion settings control comments and user interaction.
Default Post Settings
Choose whether visitors can leave comments on new posts.
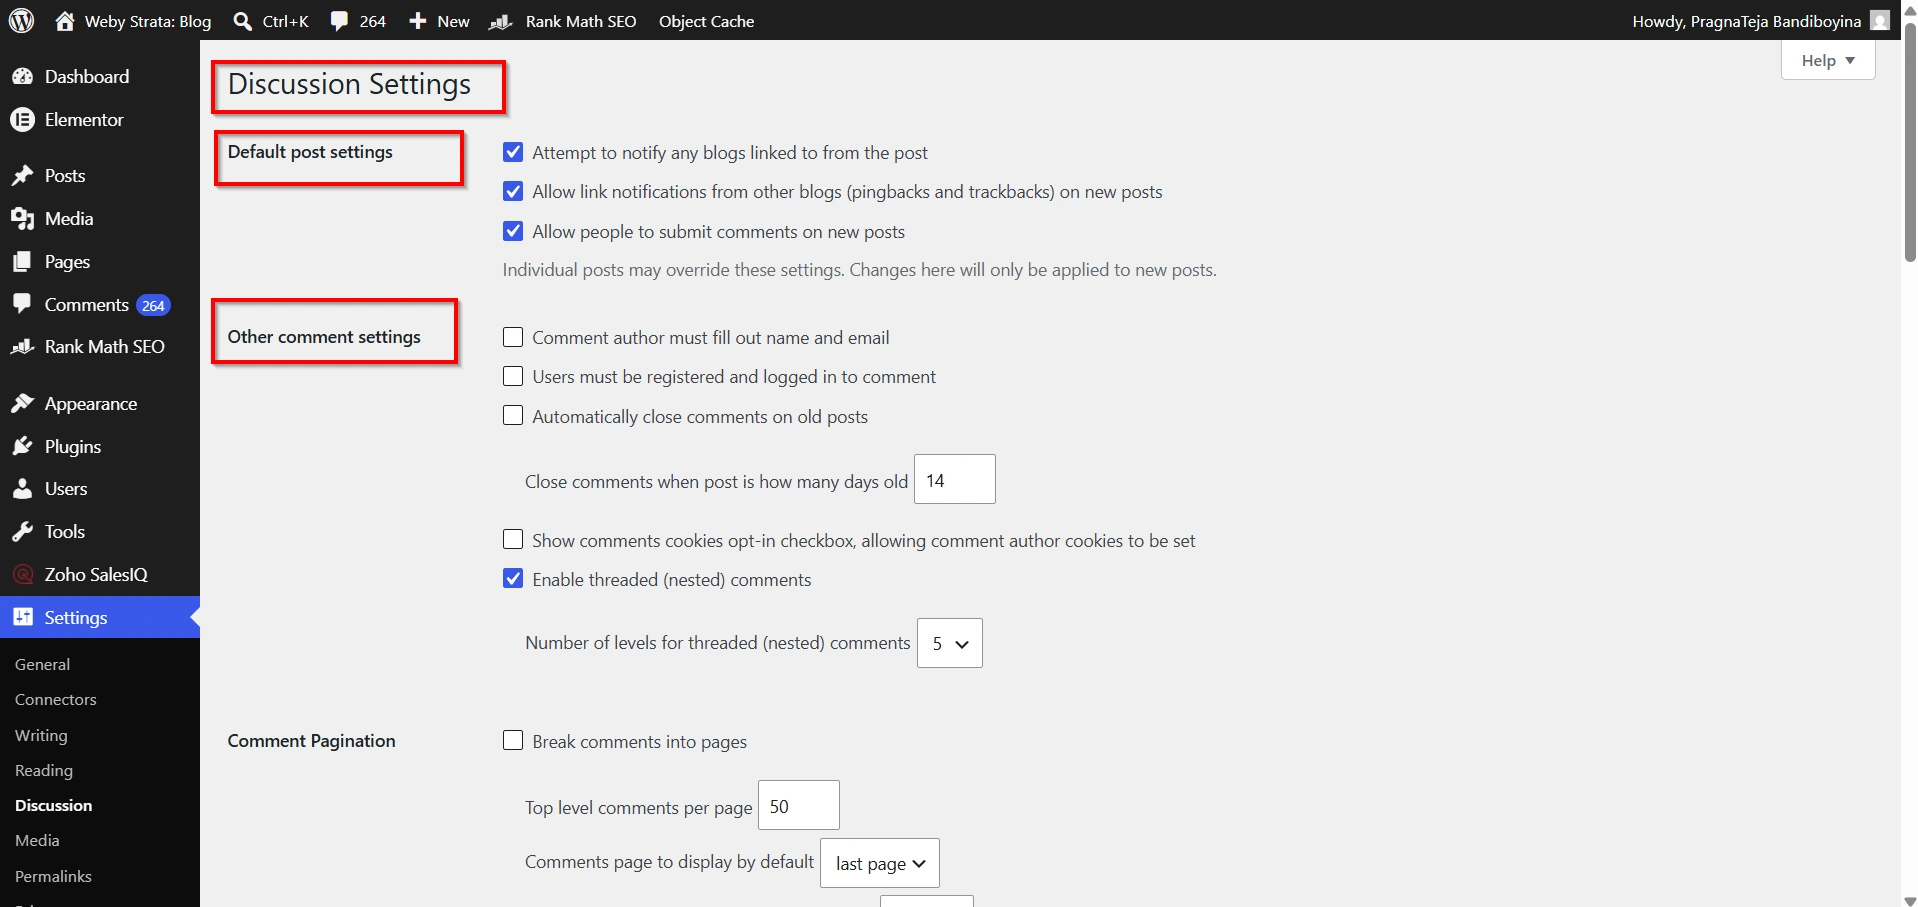
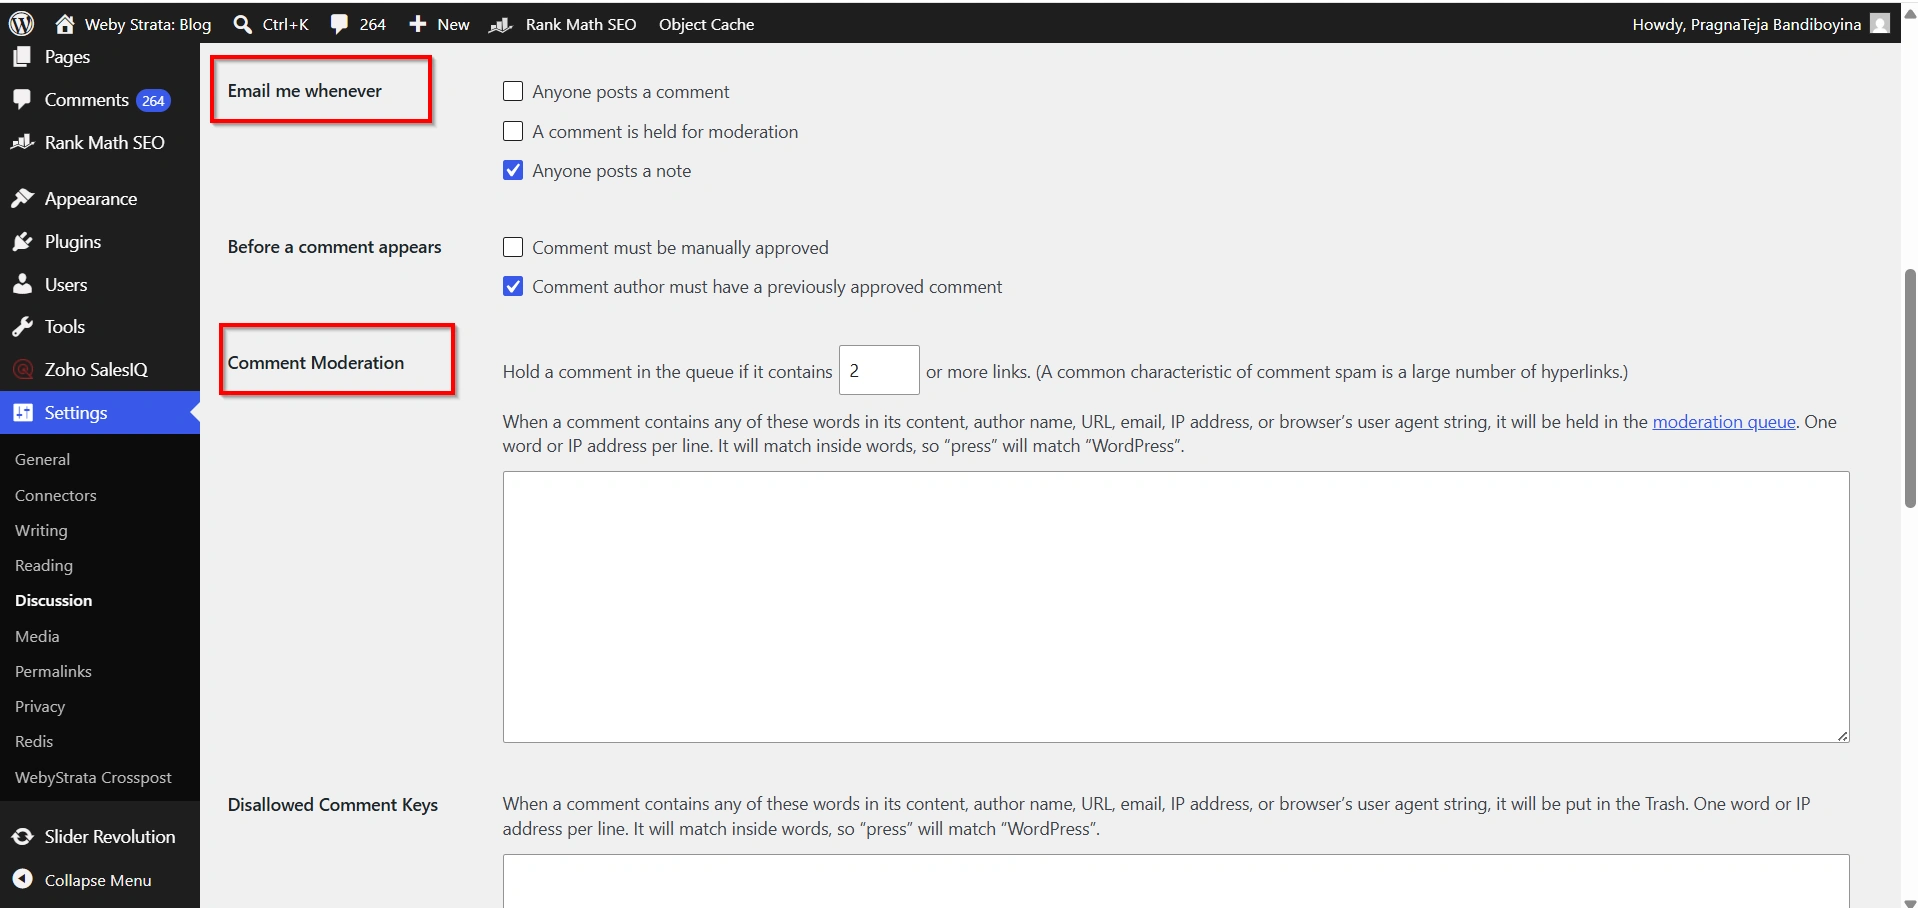
Comment Moderation
Enable moderation to review comments before they become publicly visible.
This helps prevent:
- Spam comments
- Offensive content
- Malicious links
Email Notifications
Receive notifications whenever:
- A new comment is submitted
- A comment requires moderation
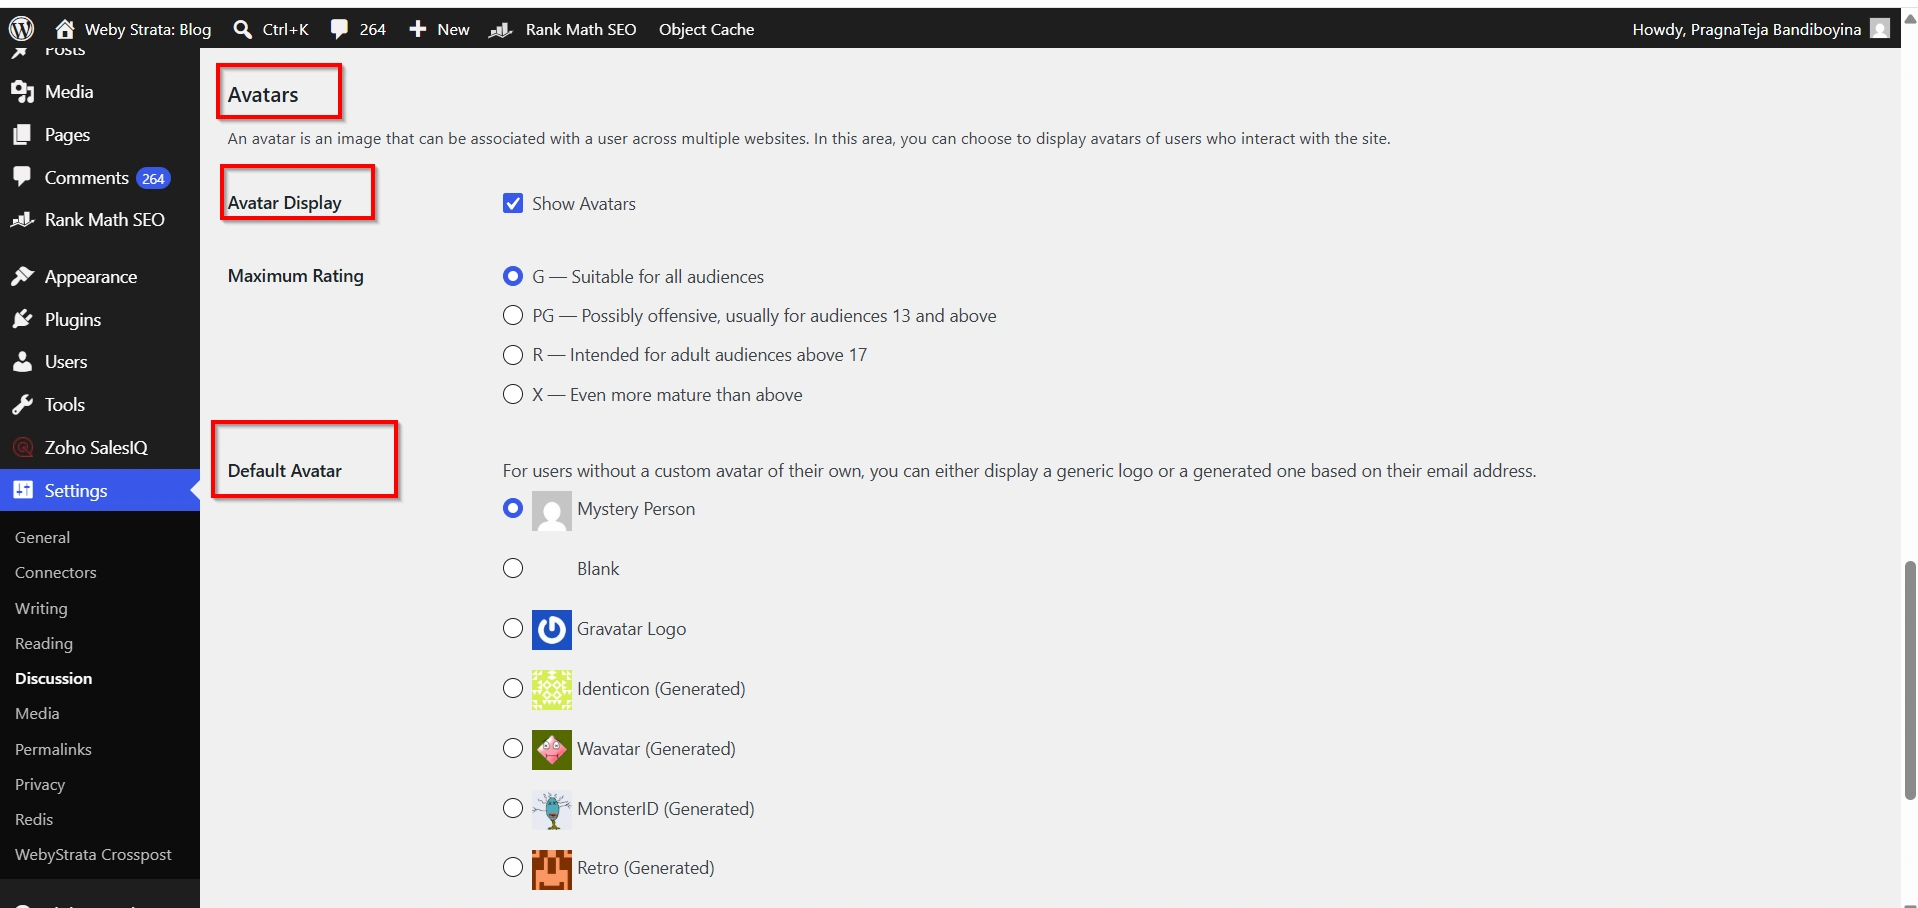
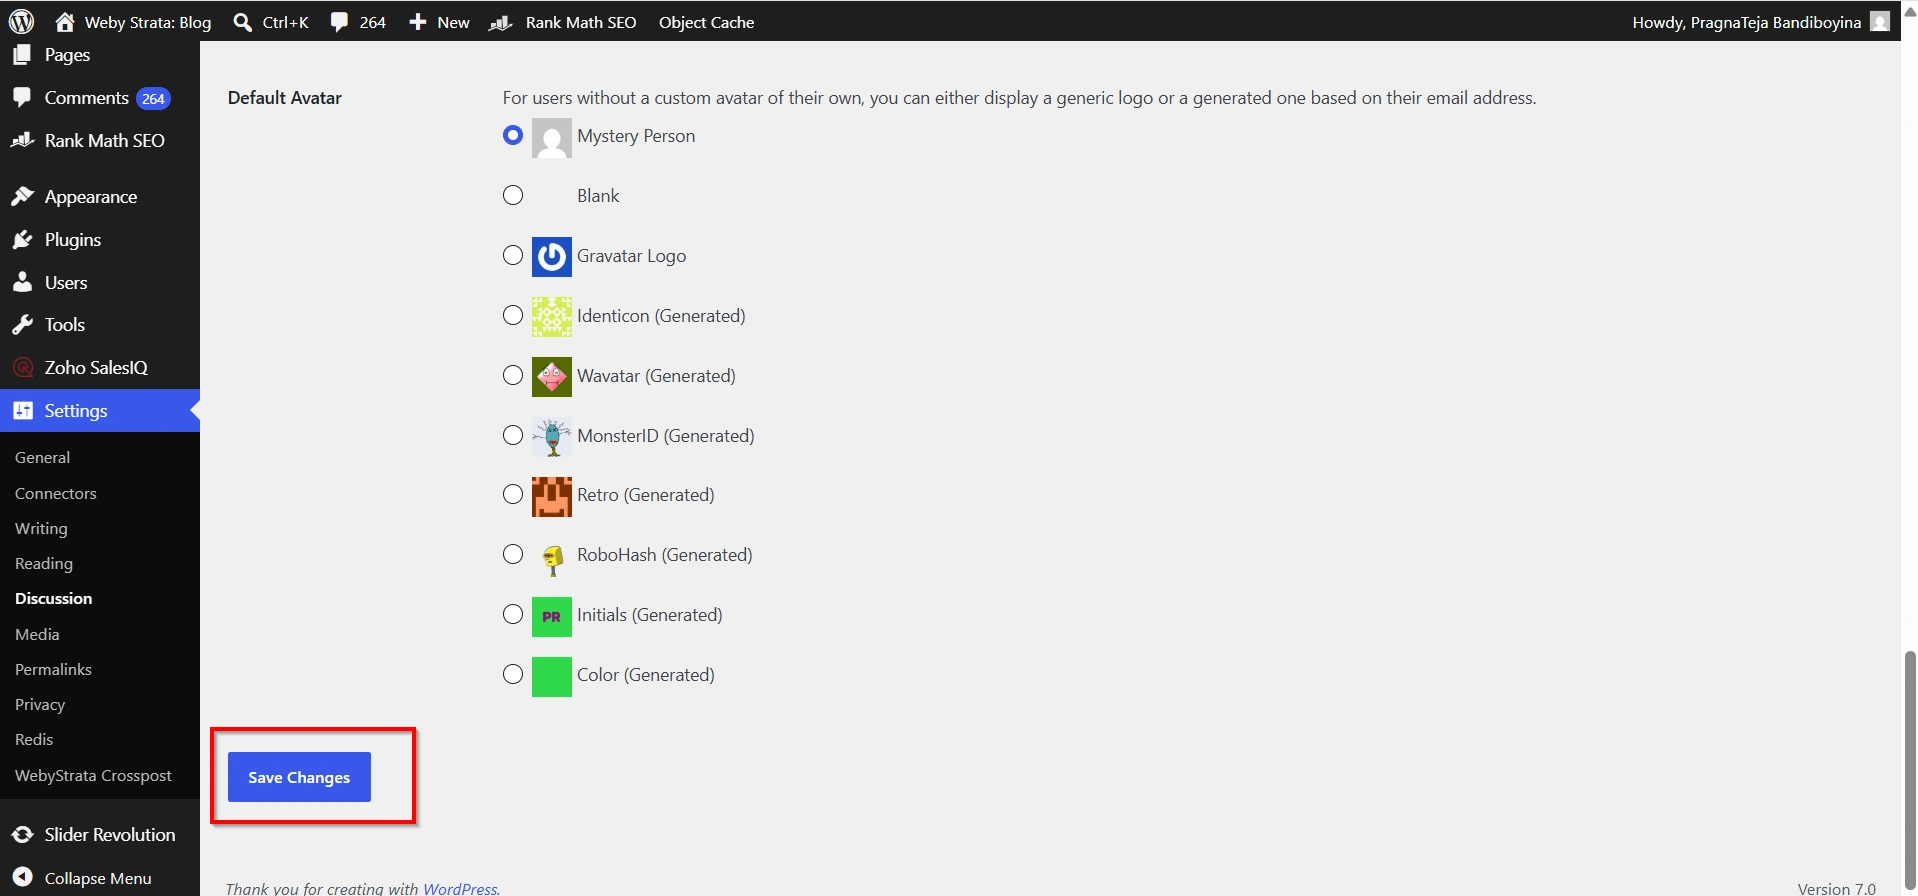
Avatar Settings
Avatars are profile images displayed beside comments.
You can customize:
- Avatar ratings
- Default avatar styles
- Avatar visibility
Proper discussion settings help create a safer and more engaging community.
- Remember to click Save Changes.
Step 6: Configure Media Settings
Navigate to Settings → Media.
Media settings determine how WordPress processes uploaded images.
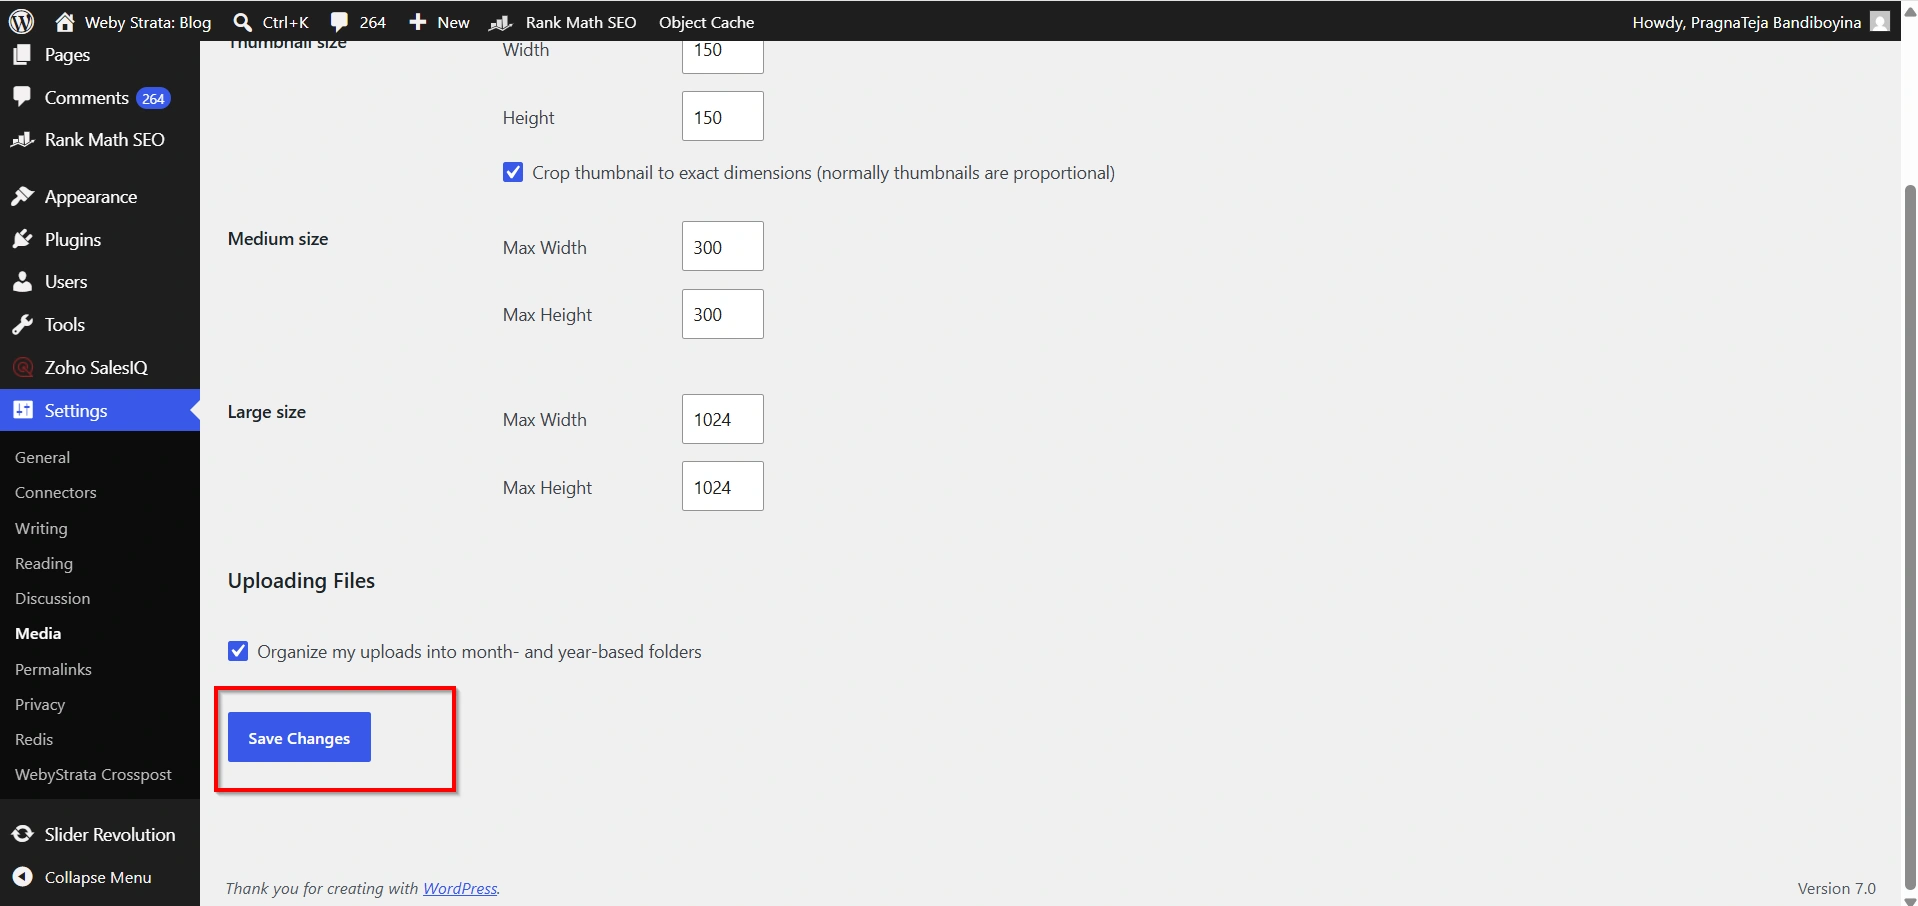
Thumbnail Size
Defines the dimensions of small preview images.
Medium Size
Sets dimensions for medium-sized images.
Large Size
Controls dimensions for larger images displayed on your website.

Benefits of Optimized Media Settings
Proper image sizing helps:
- Improve page speed
- Reduce storage usage
- Enhance user experience
- Improve mobile responsiveness
Always save your changes before leaving the page.
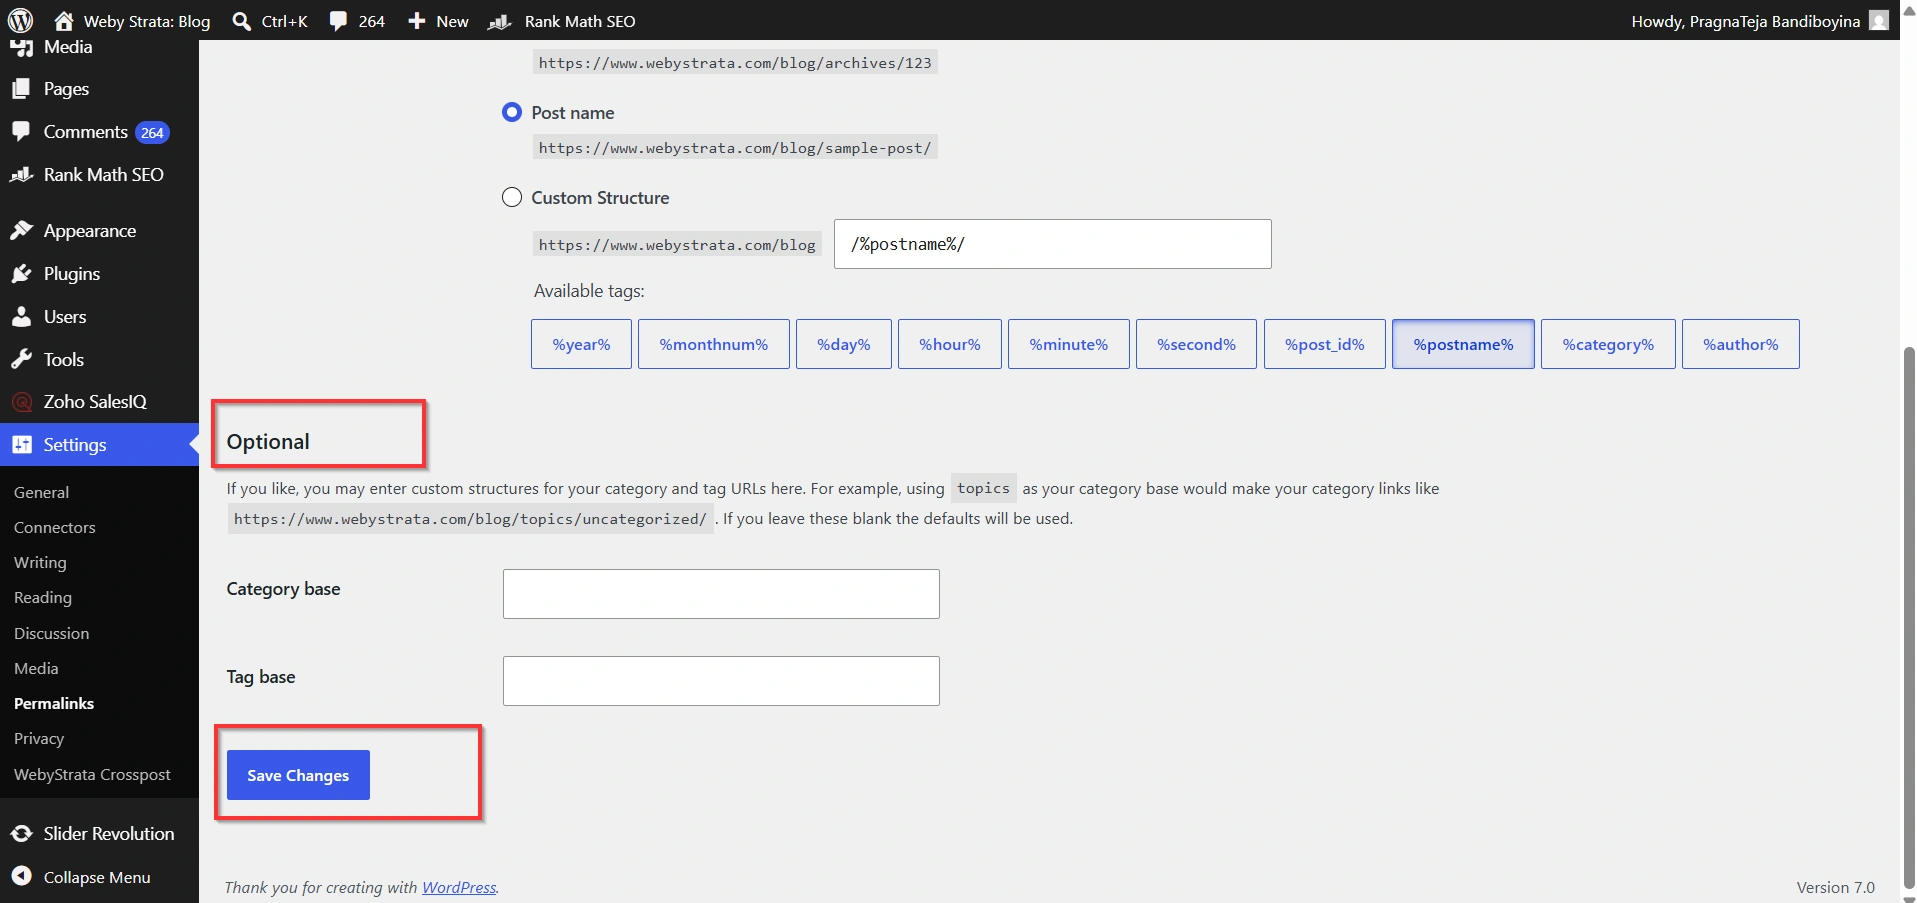
Step 7: Configure Permalink Settings
Go to Settings → Permalinks.
Permalinks define the structure of your website URLs.
WordPress offers several options:
- Plain
- Day and Name
- Month and Name
- Numeric
- Post Name
Recommended Option: Post Name
The Post Name structure creates clean, readable URLs.
Example:
Instead of:
Use:
https://example.com/how-to-configure-settings-in-wordpress

Why SEO-Friendly URLs Matter
Search engines prefer descriptive URLs because they:
- Improve indexing
- Increase click-through rates
- Enhance readability
- Help users understand page content
For most websites, the Post Name structure is the best choice.
Click Save Changes after selecting your preferred structure.
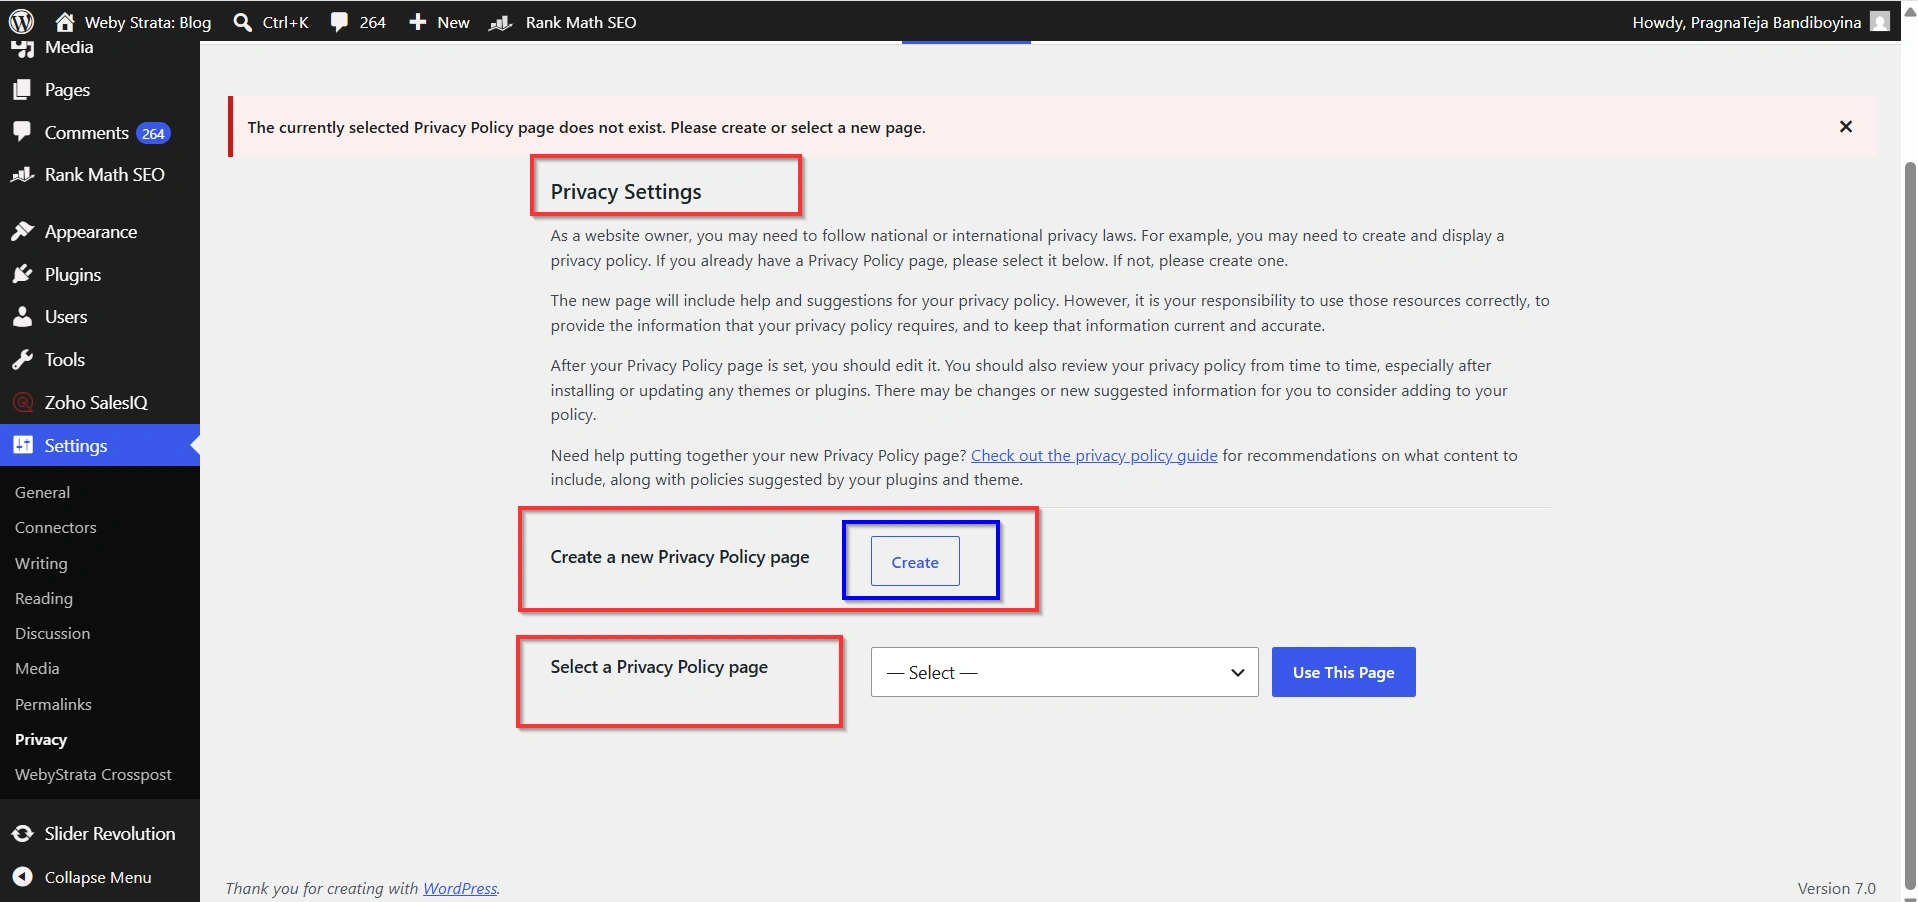
Step 8: Configure Privacy Settings
Navigate to Settings → Privacy.
Privacy settings help website owners comply with privacy regulations and inform visitors how their information is handled.

Use an Existing Privacy Policy Page
Select a previously created privacy policy page from the dropdown menu.
Create a New Privacy Policy Page
WordPress can generate a privacy policy template that you can customize.
A privacy policy is particularly important if your website collects:
- Contact form submissions
- Customer information
- Newsletter subscriptions
- Payment details
- Analytics data
Transparency builds trust and improves compliance with privacy laws.
Benefits of Properly Configuring WordPress Settings
1. Improved Search Engine Optimization
2. Better User Experience
3. Enhanced Website Security
4. Faster Website Performance
5. Accurate Scheduling
6. Professional Appearance
7. Easier Website Management
Conclusion
Configuring WordPress settings is one of the most important steps after installing WordPress. The General, Writing, Reading, Discussion, Media, Permalink, and Privacy settings work together to improve your website’s functionality, performance, security, and search engine visibility.
By reviewing and optimizing these settings early, you create a strong foundation for long-term website success. Whether you are managing a blog, business website, or online store, taking a few minutes to configure WordPress properly can save time, improve user experience, and help your website achieve better results.
Originally published on WebyStrata.com Blog.
Related Articles